From steel box to working space
How a shipping container becomes an office, a shop or a store: openings cut, doors and glazing fitted, the inside lined and fitted out, and the finished unit craned onto site.
A conversion starts as a plain steel container and leaves the yard ready to use. These photographs follow the work in the order it is done.
The photographs are from our own jobs and yard. They are grouped by stage of the work, not taken from one project.
- Stage 1 of 5
Cutting in the openings
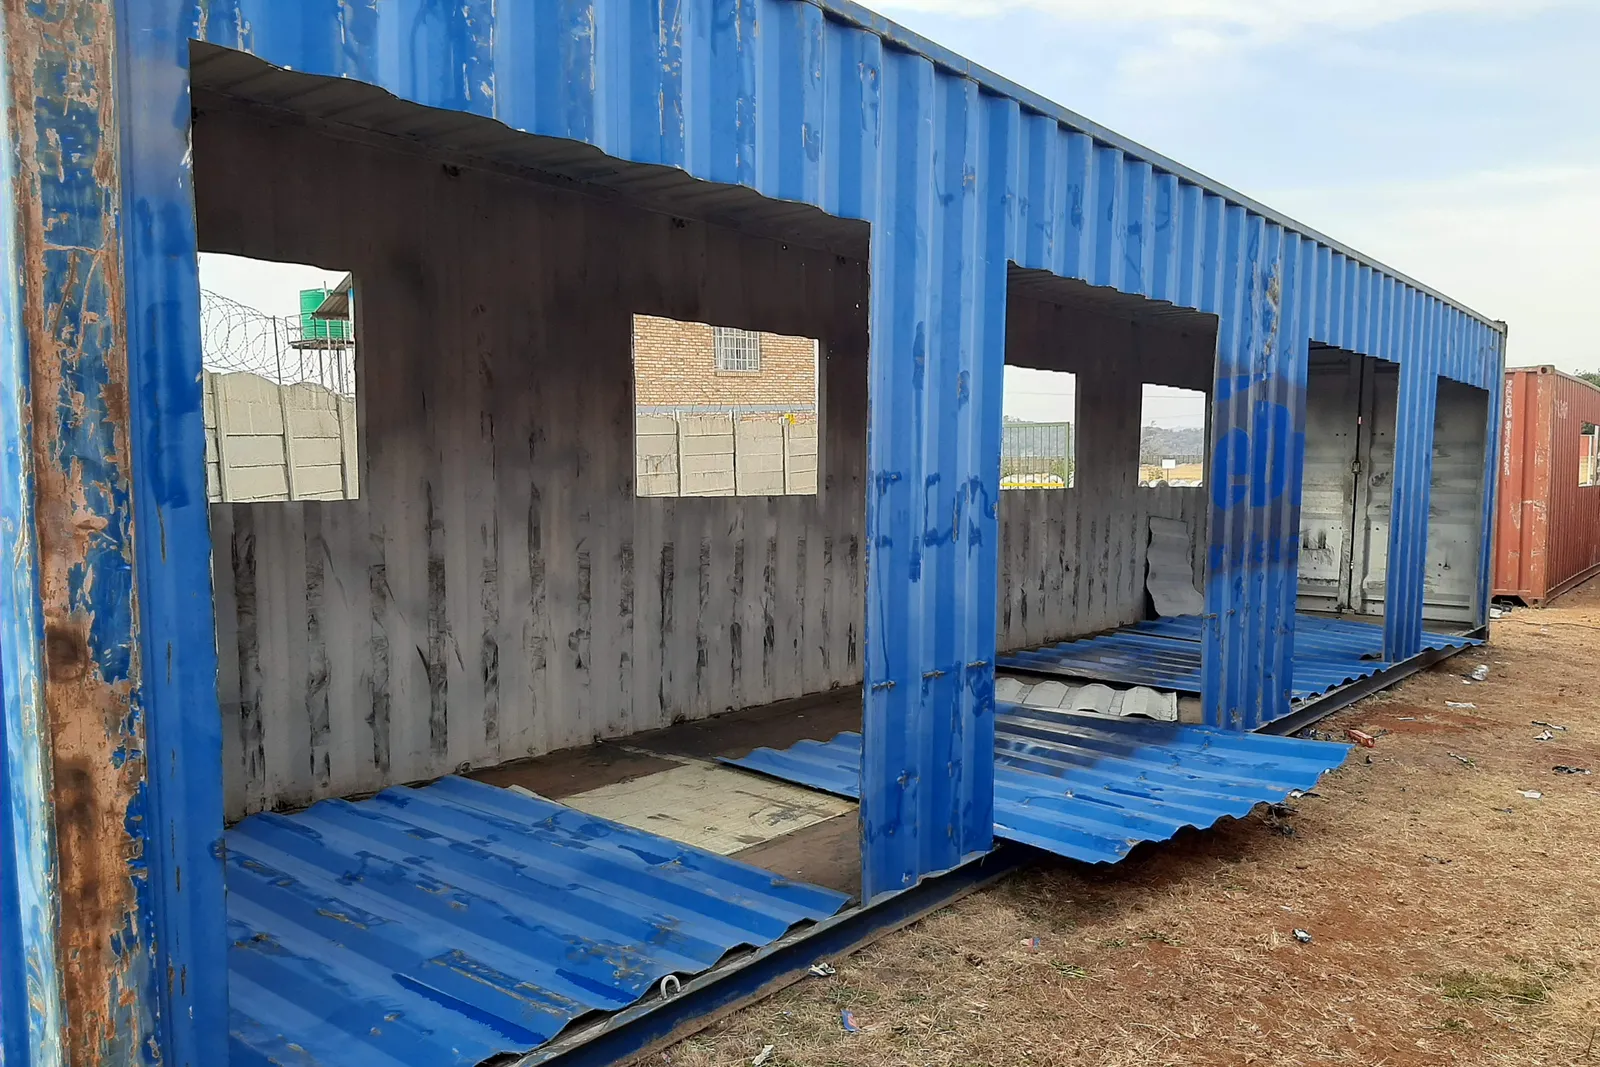
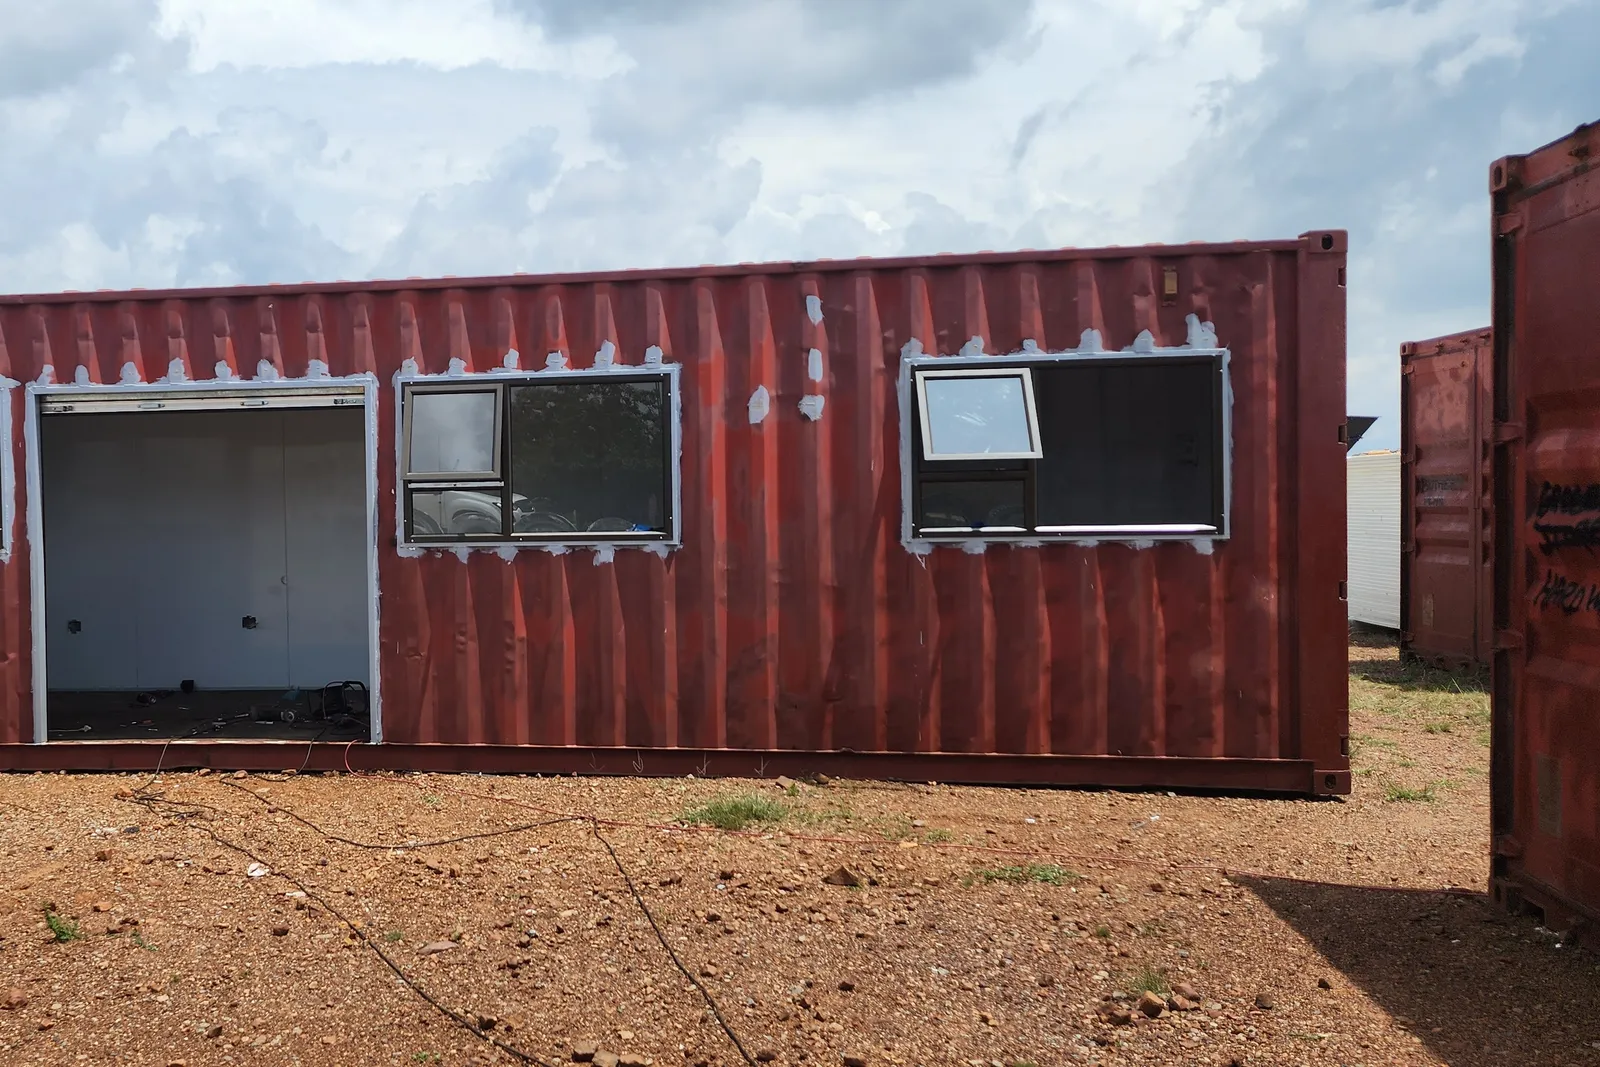
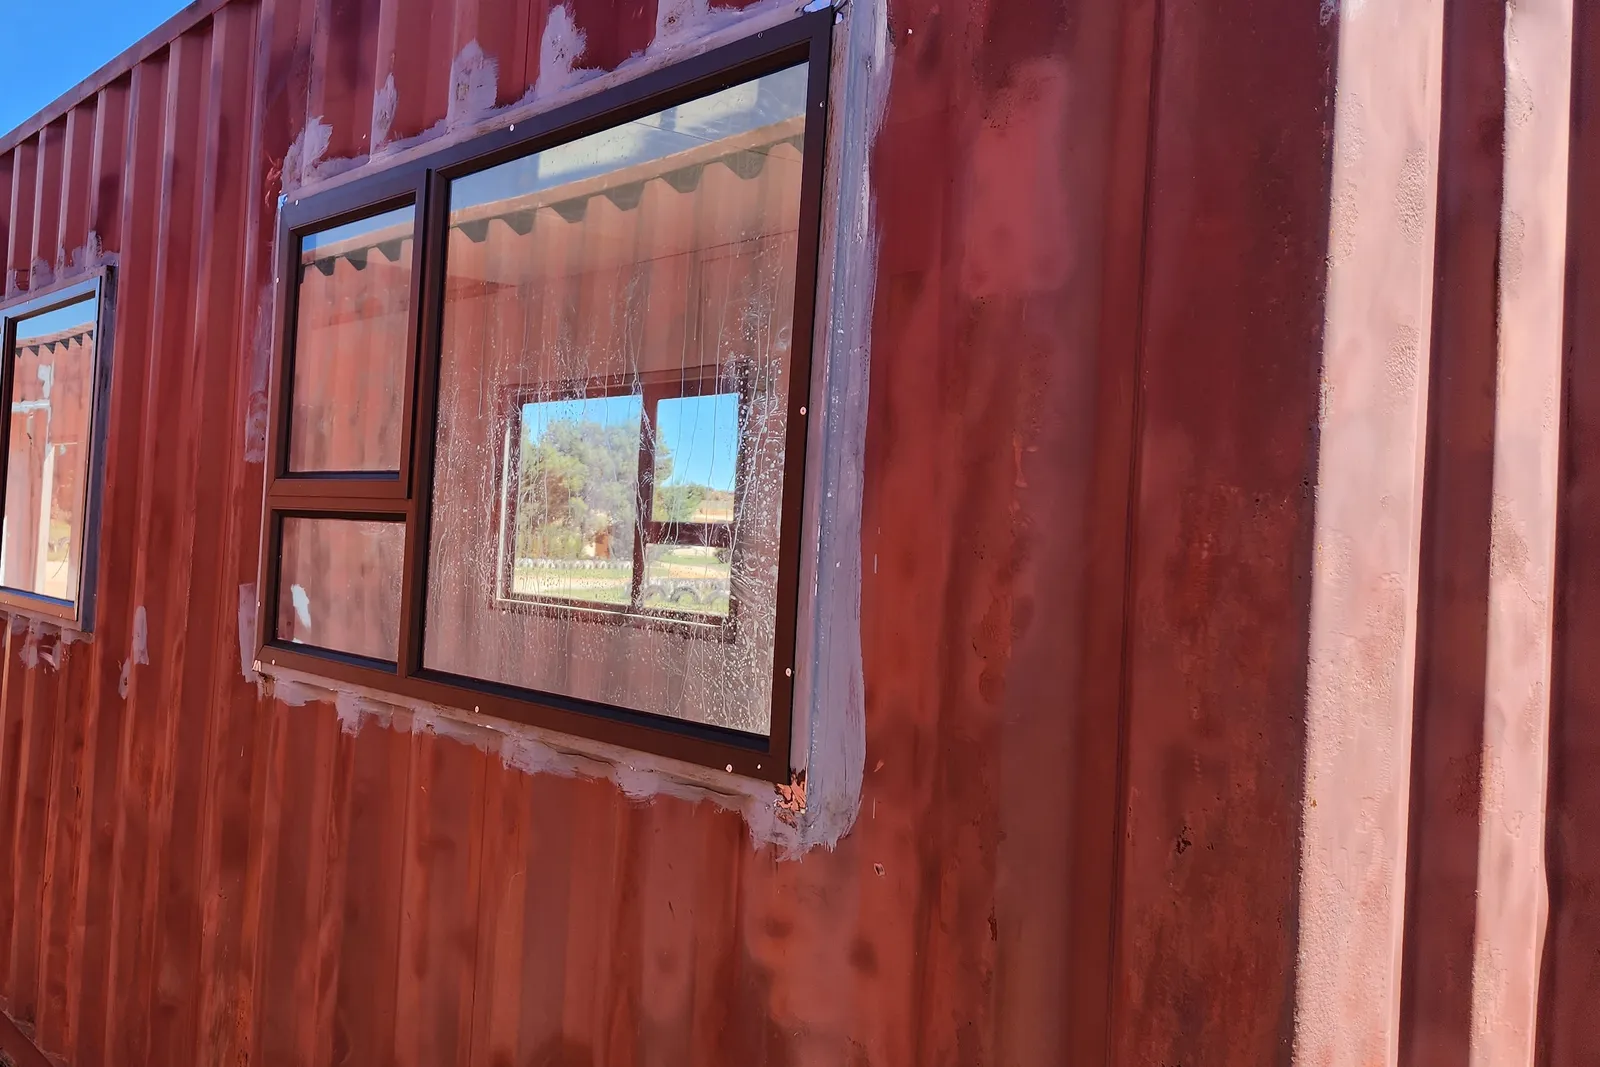
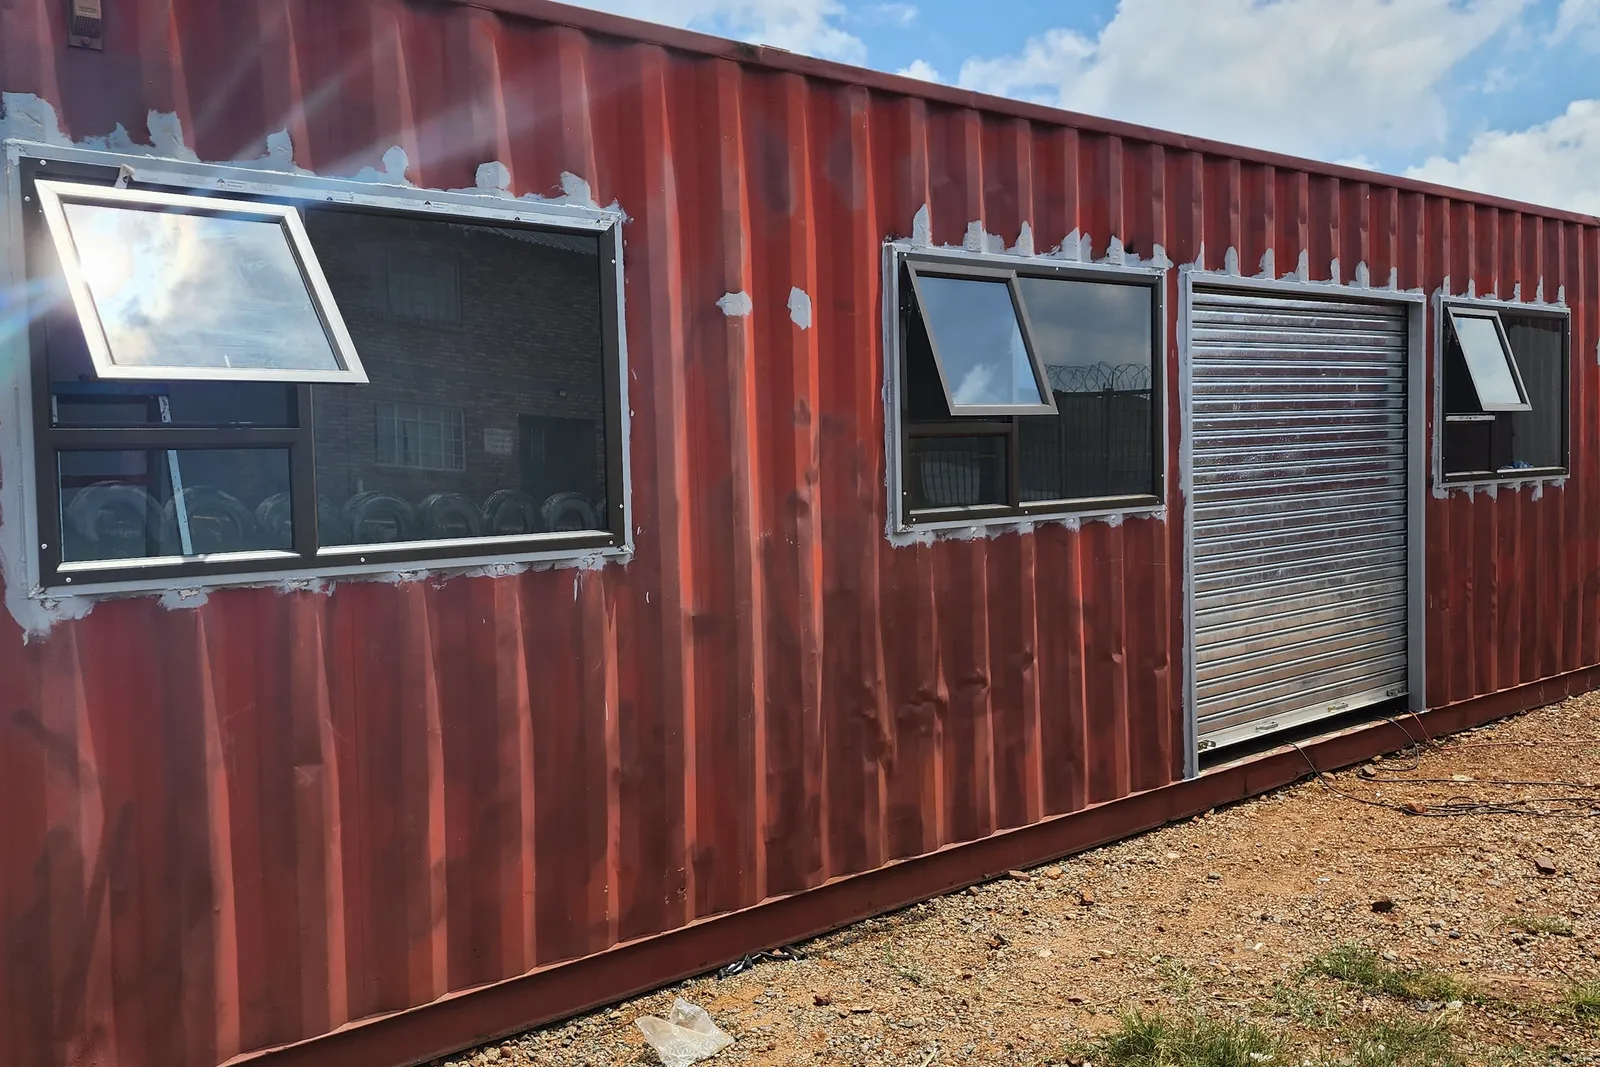
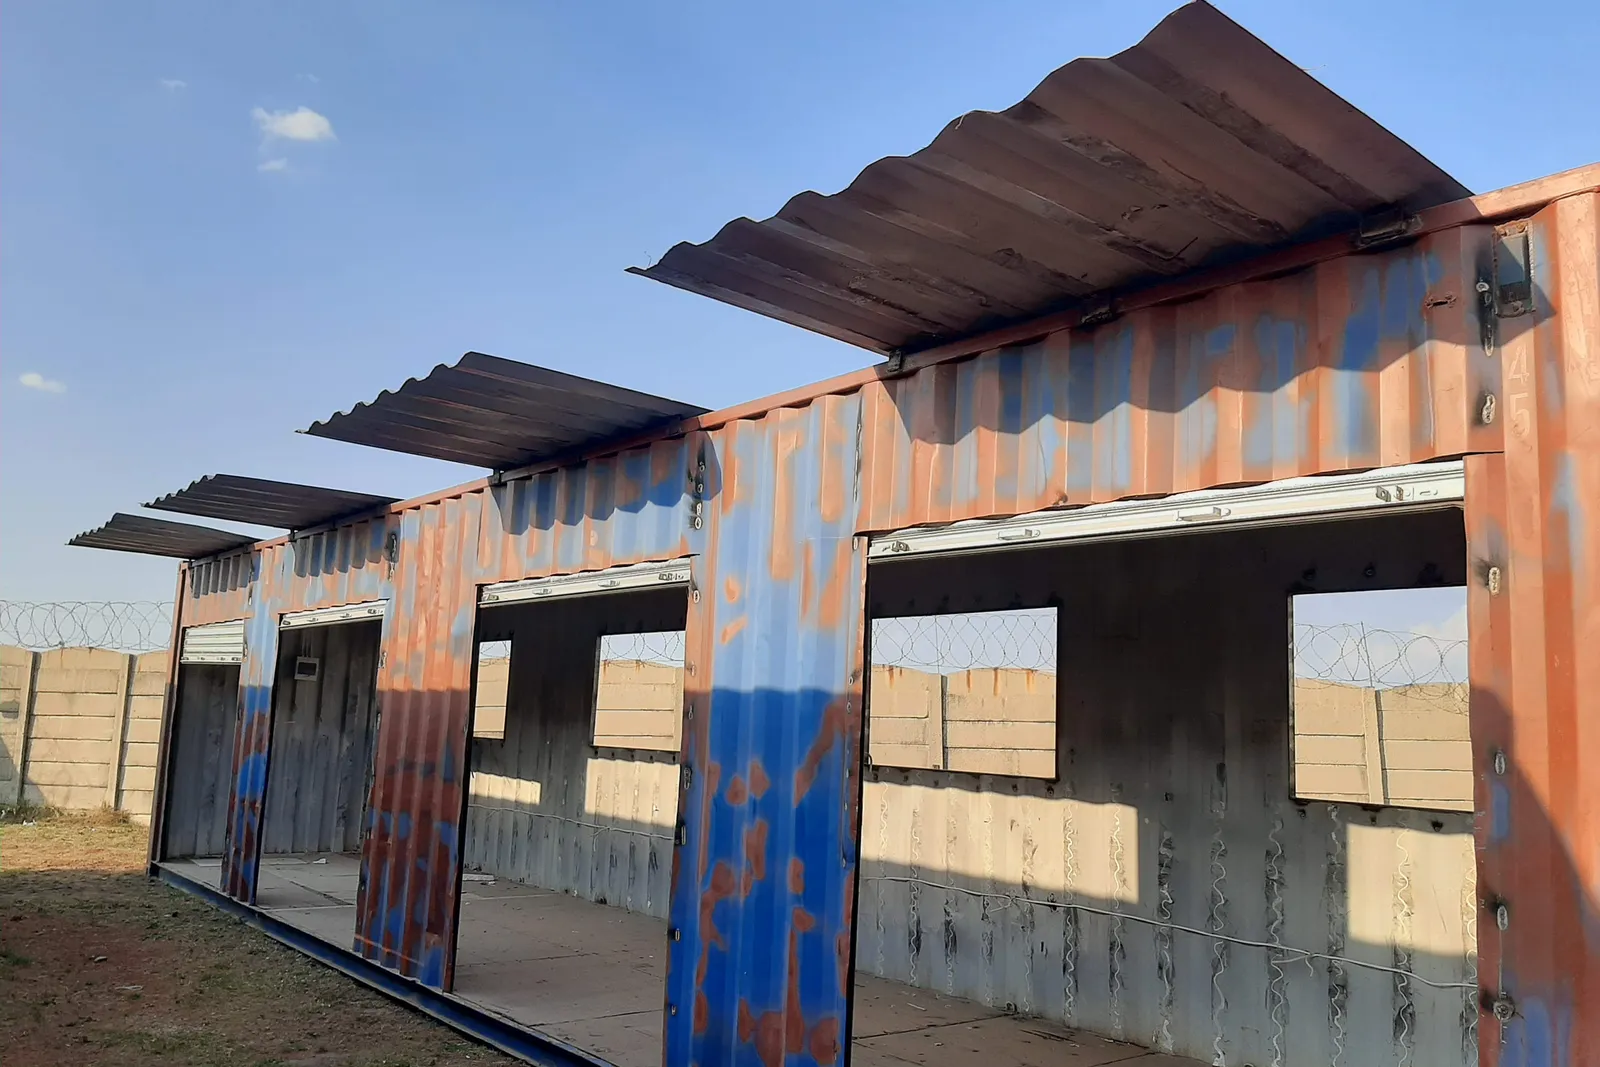
The openings for windows and doors are cut into the corrugated side walls, then framed so the joinery has something square to sit in.
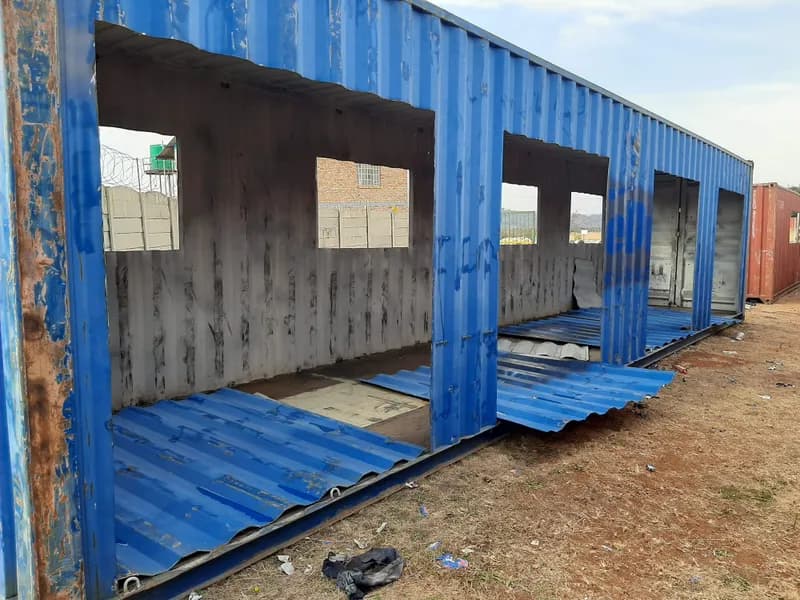
Openings cut into the side walls 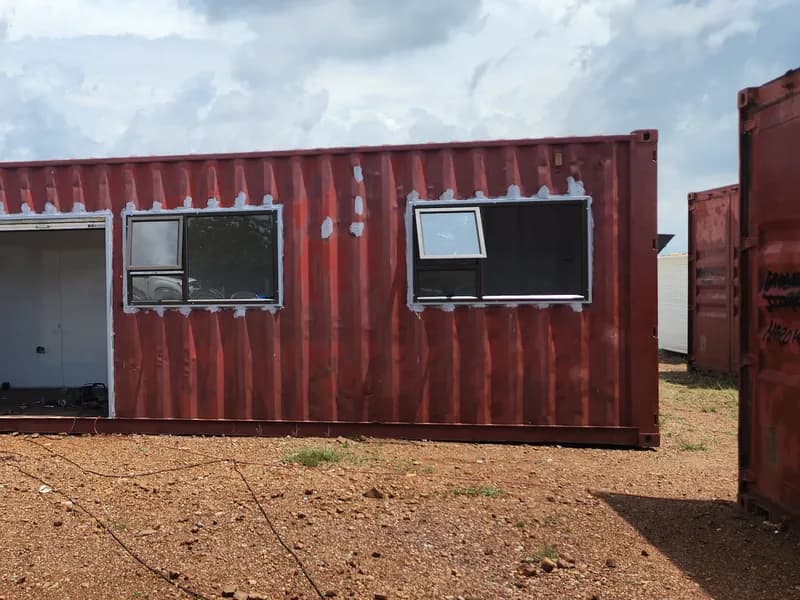
Openings framed for windows and a door 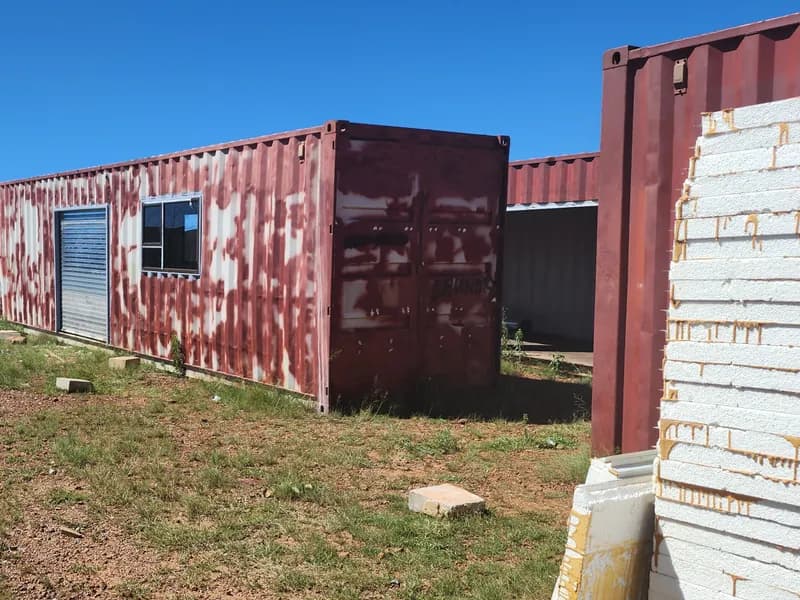
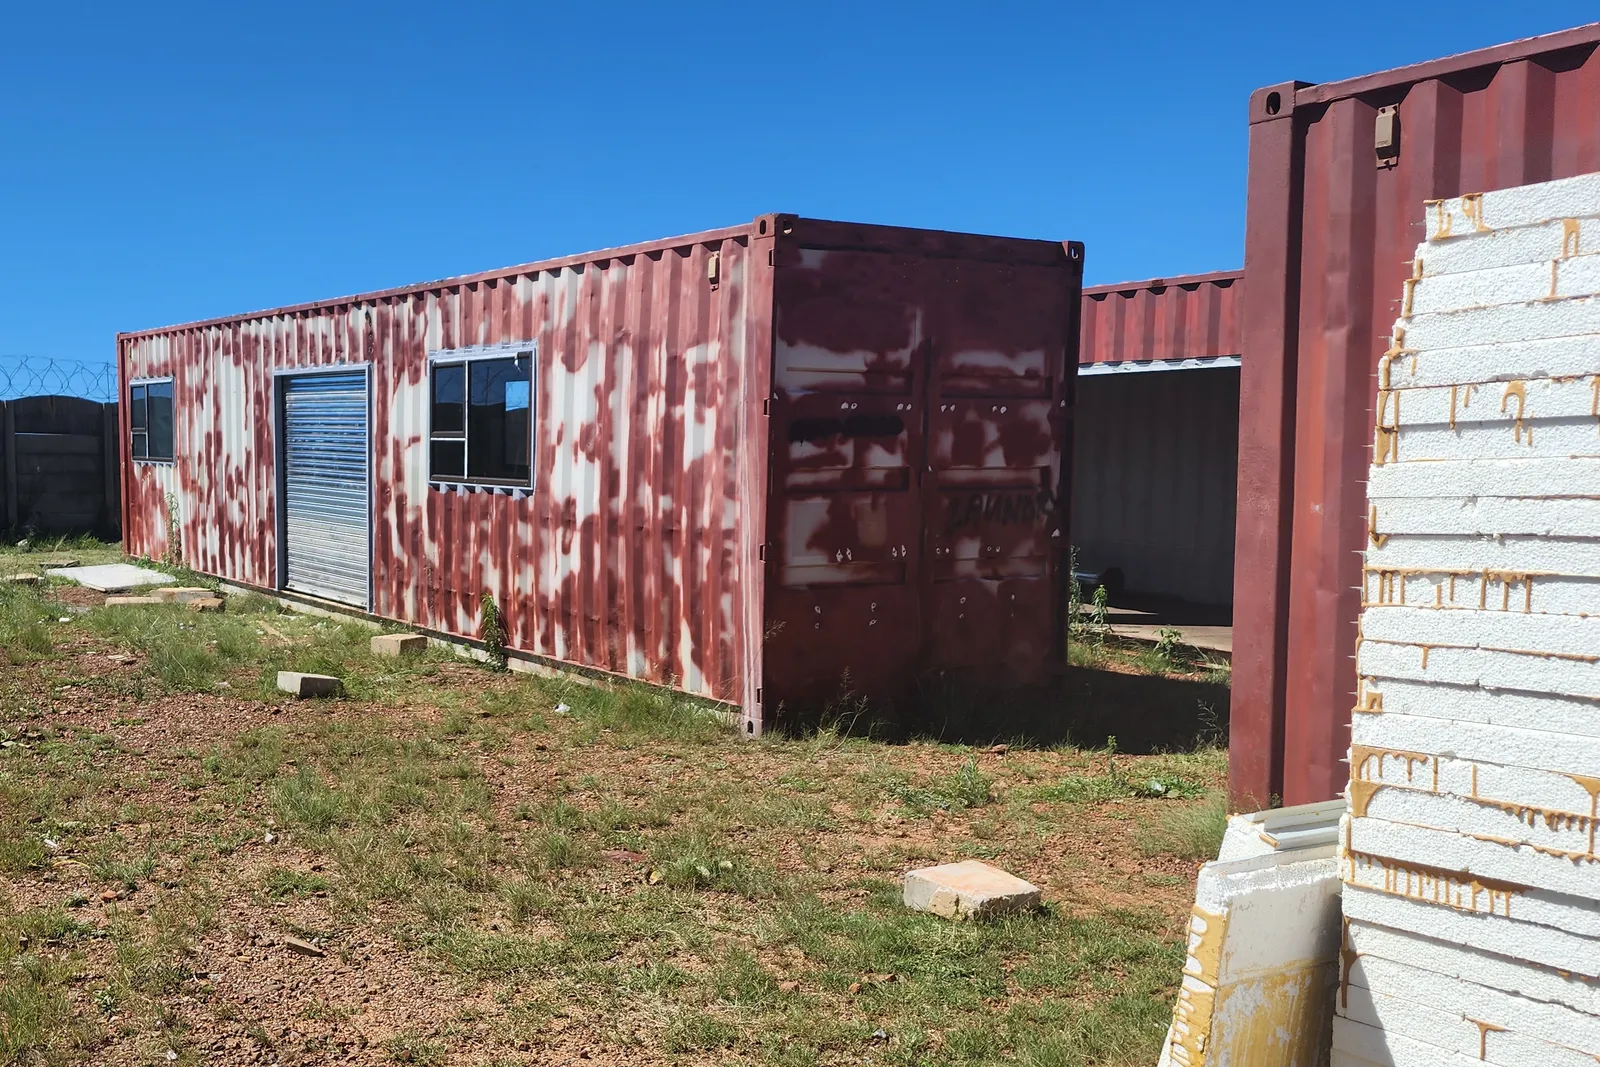
A unit with its door and window cut in 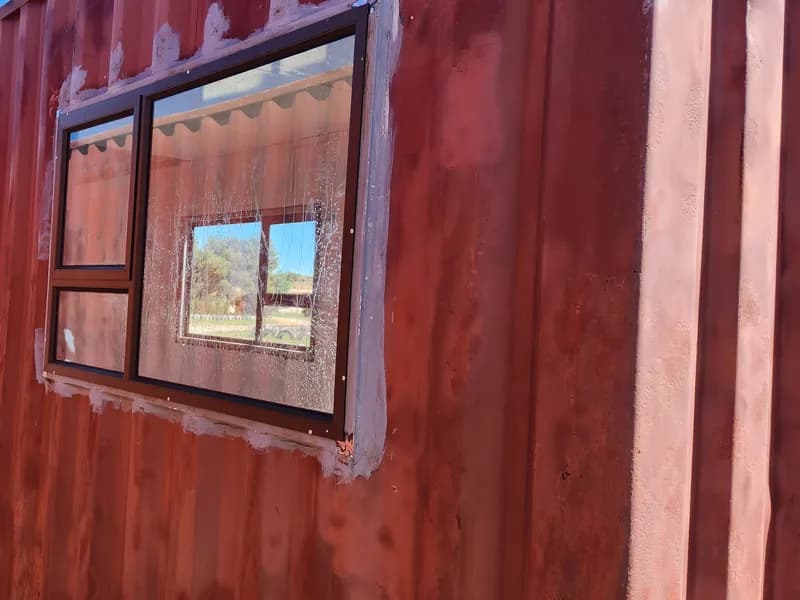
A framed window set into the corrugated wall
- Stage 2 of 5
Doors, glazing and shutters
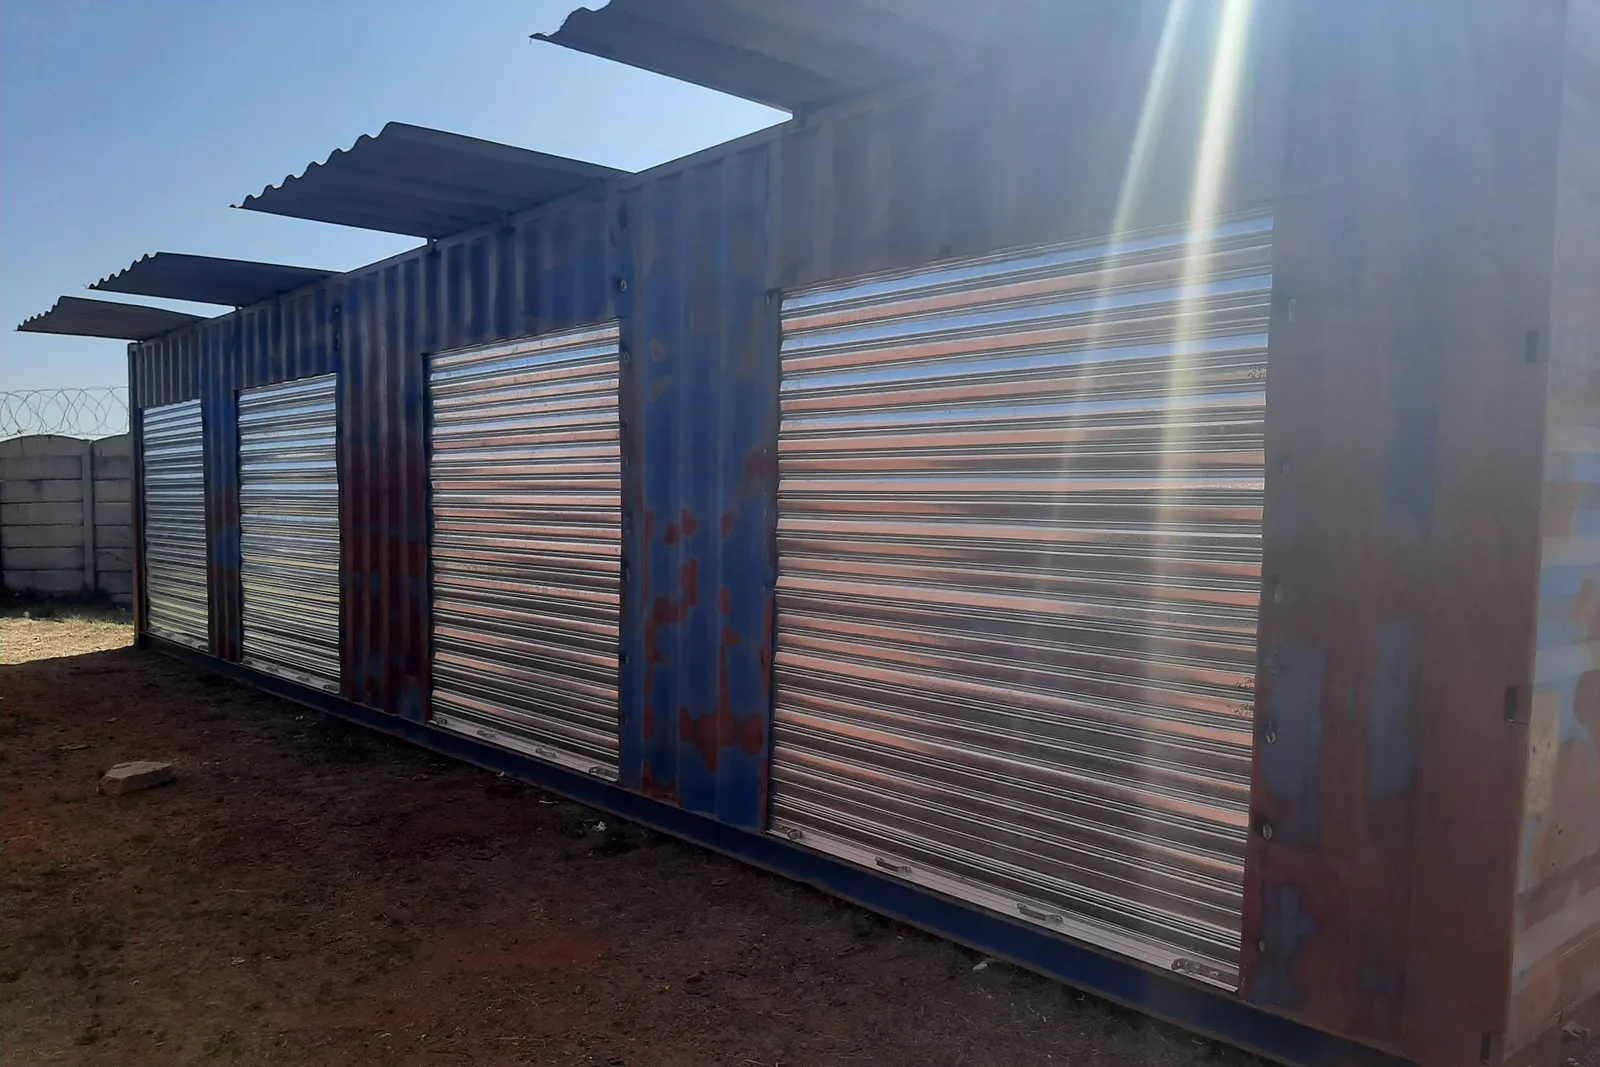
Steel doors are hung, glazing and sliding glass fronts go in, and roller shutters and awnings are fitted where the unit needs to be locked up or shaded.
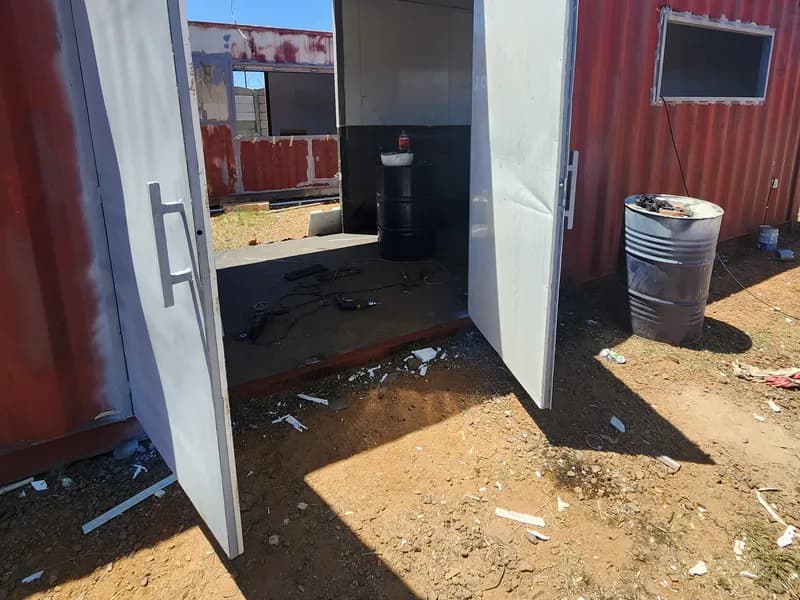
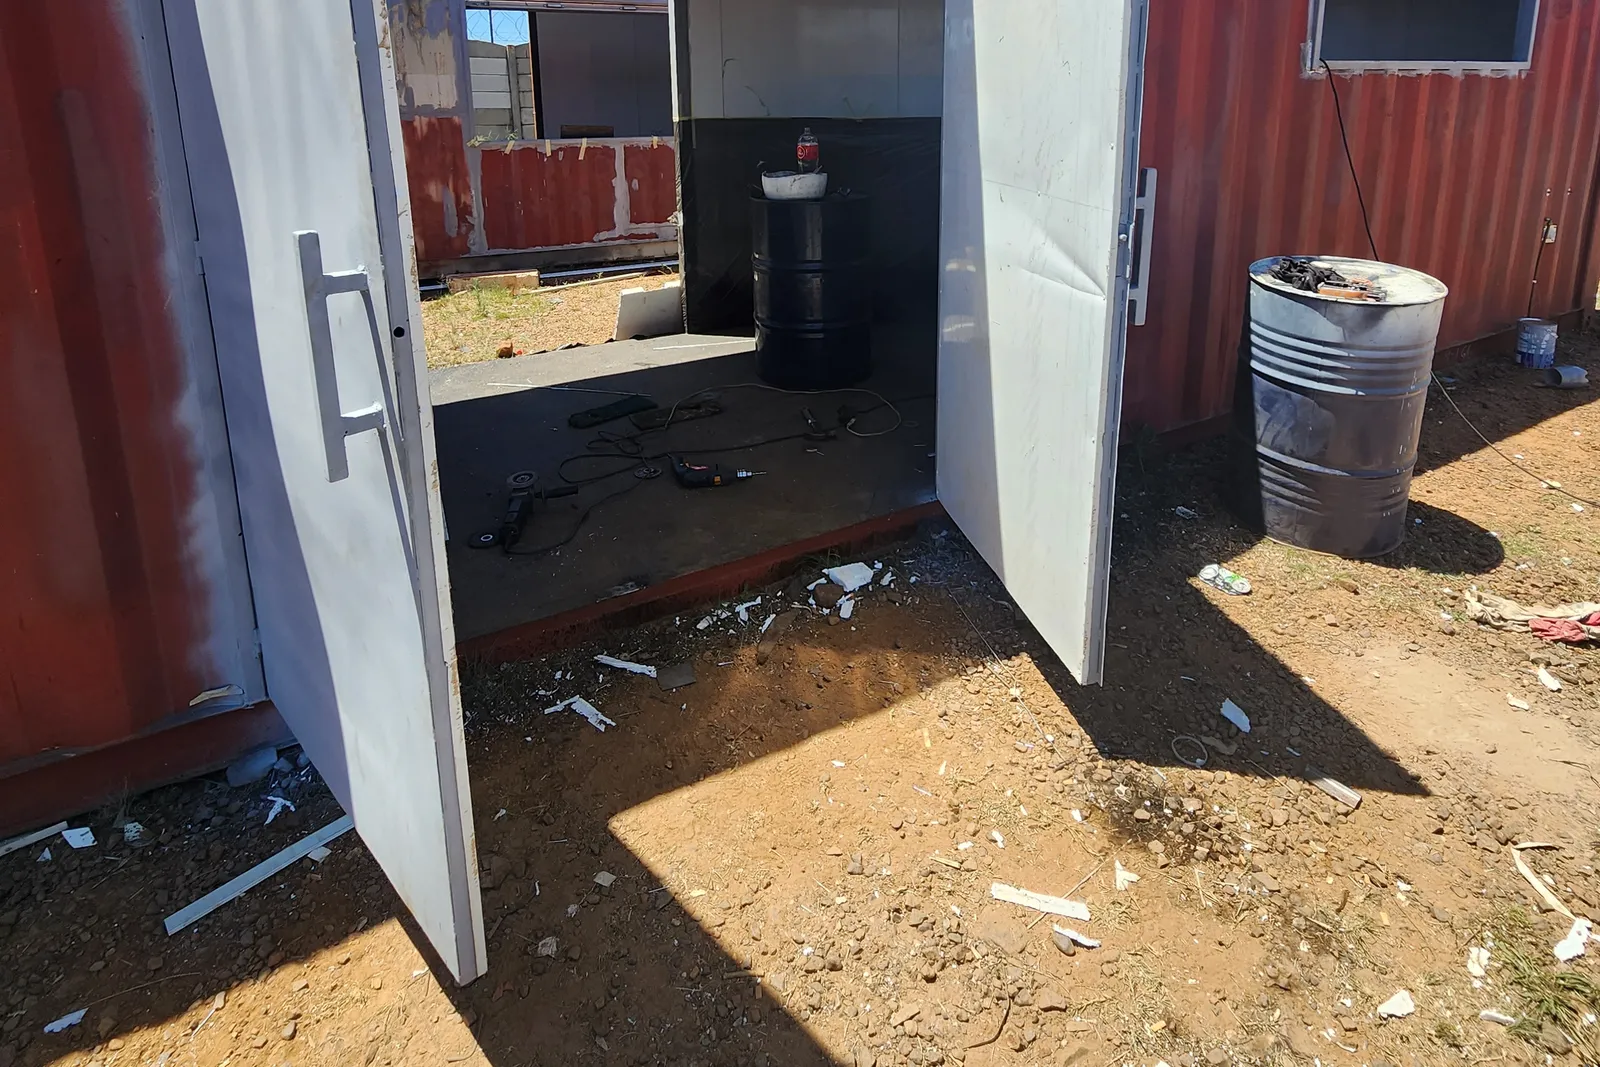
Hanging a new steel door 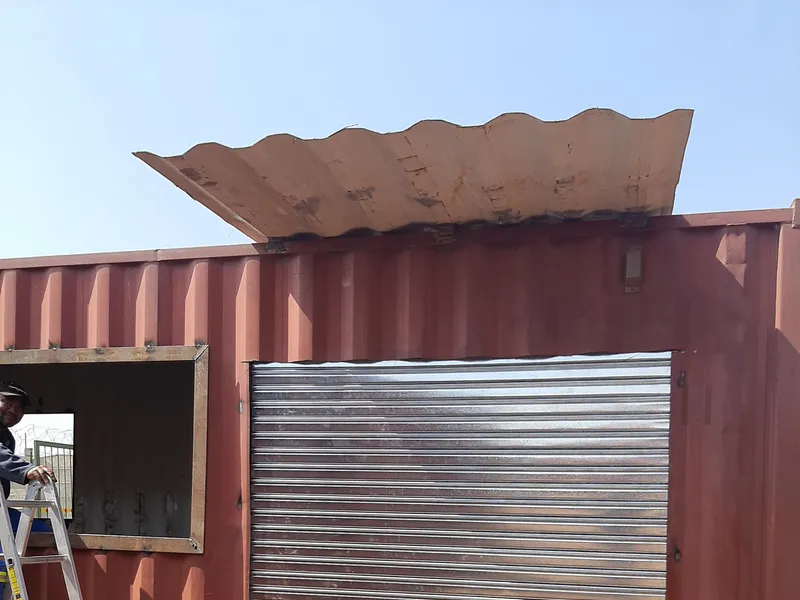
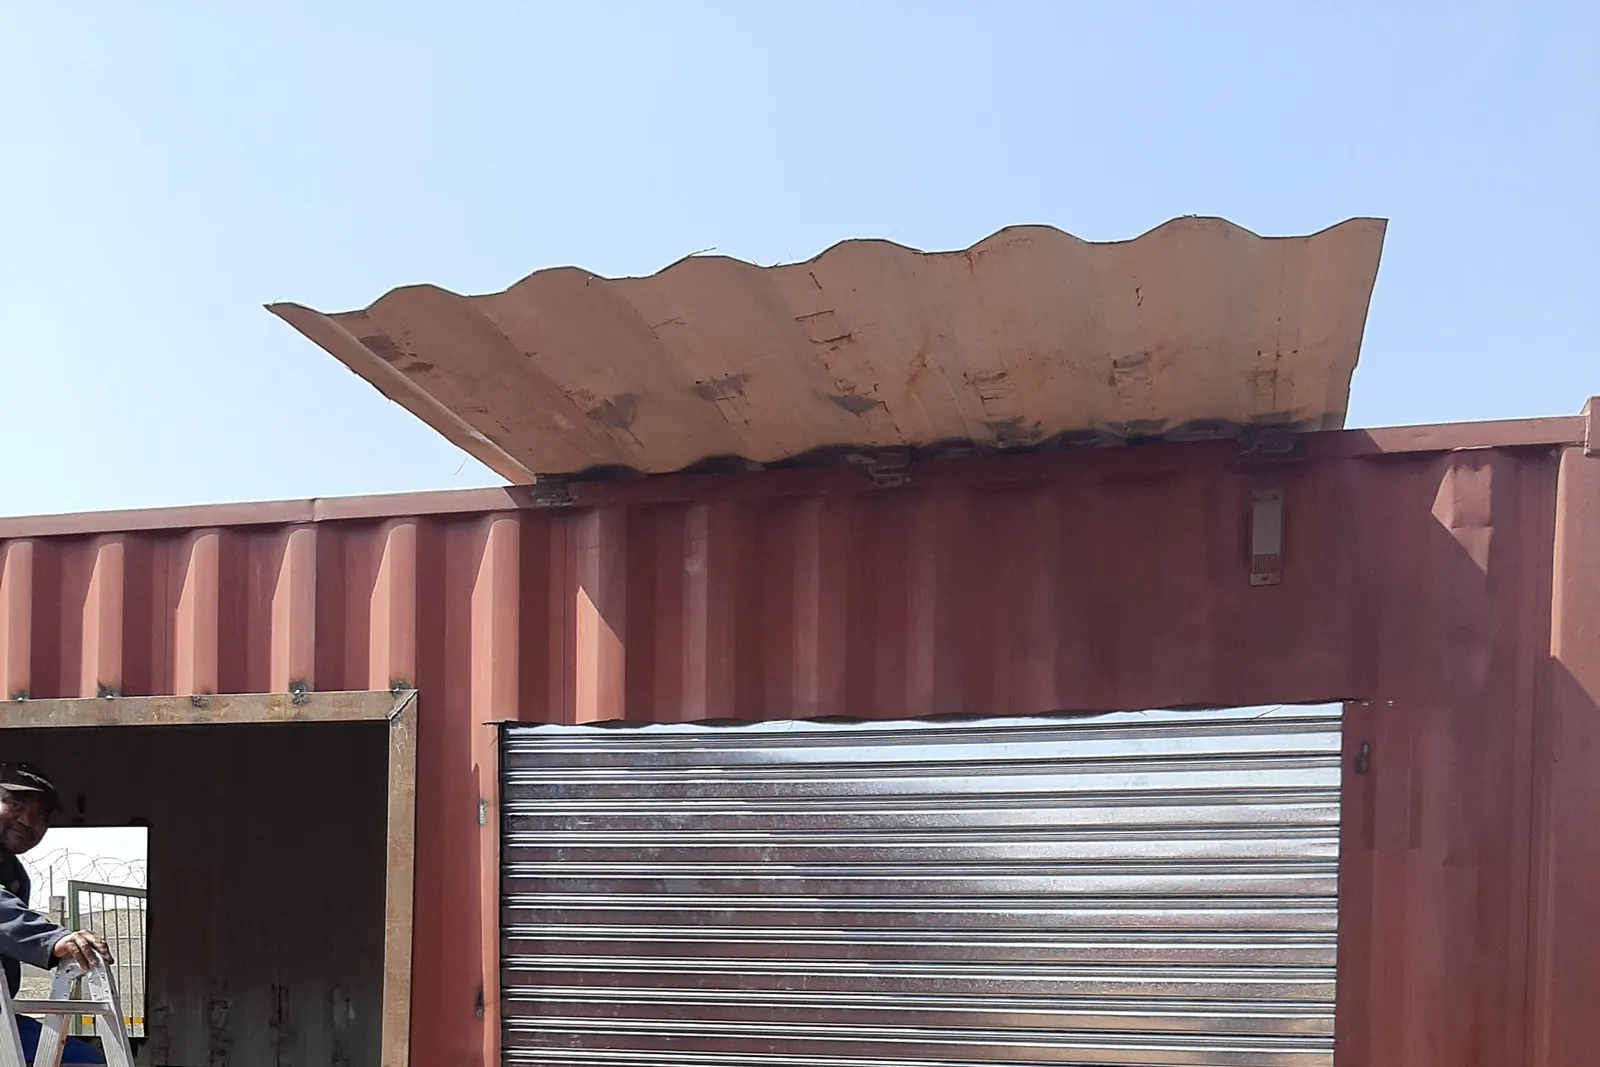
Fitting a roller shutter 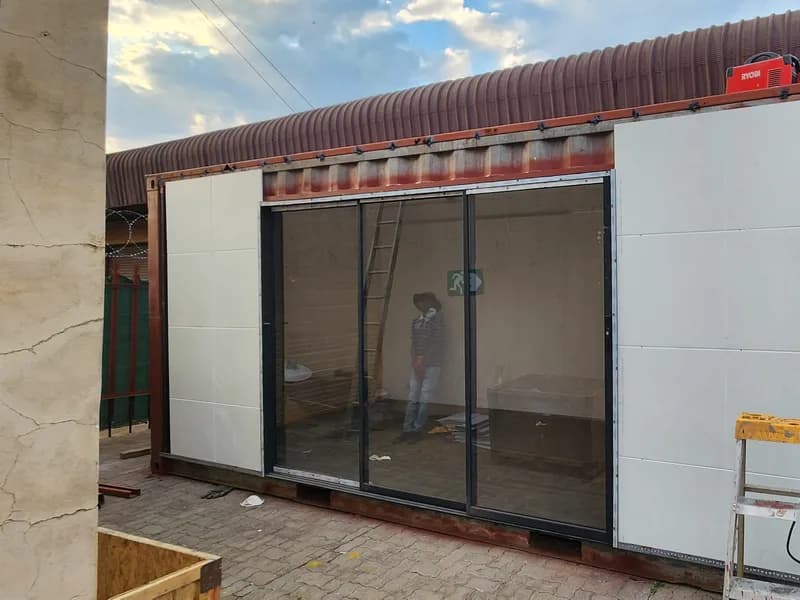
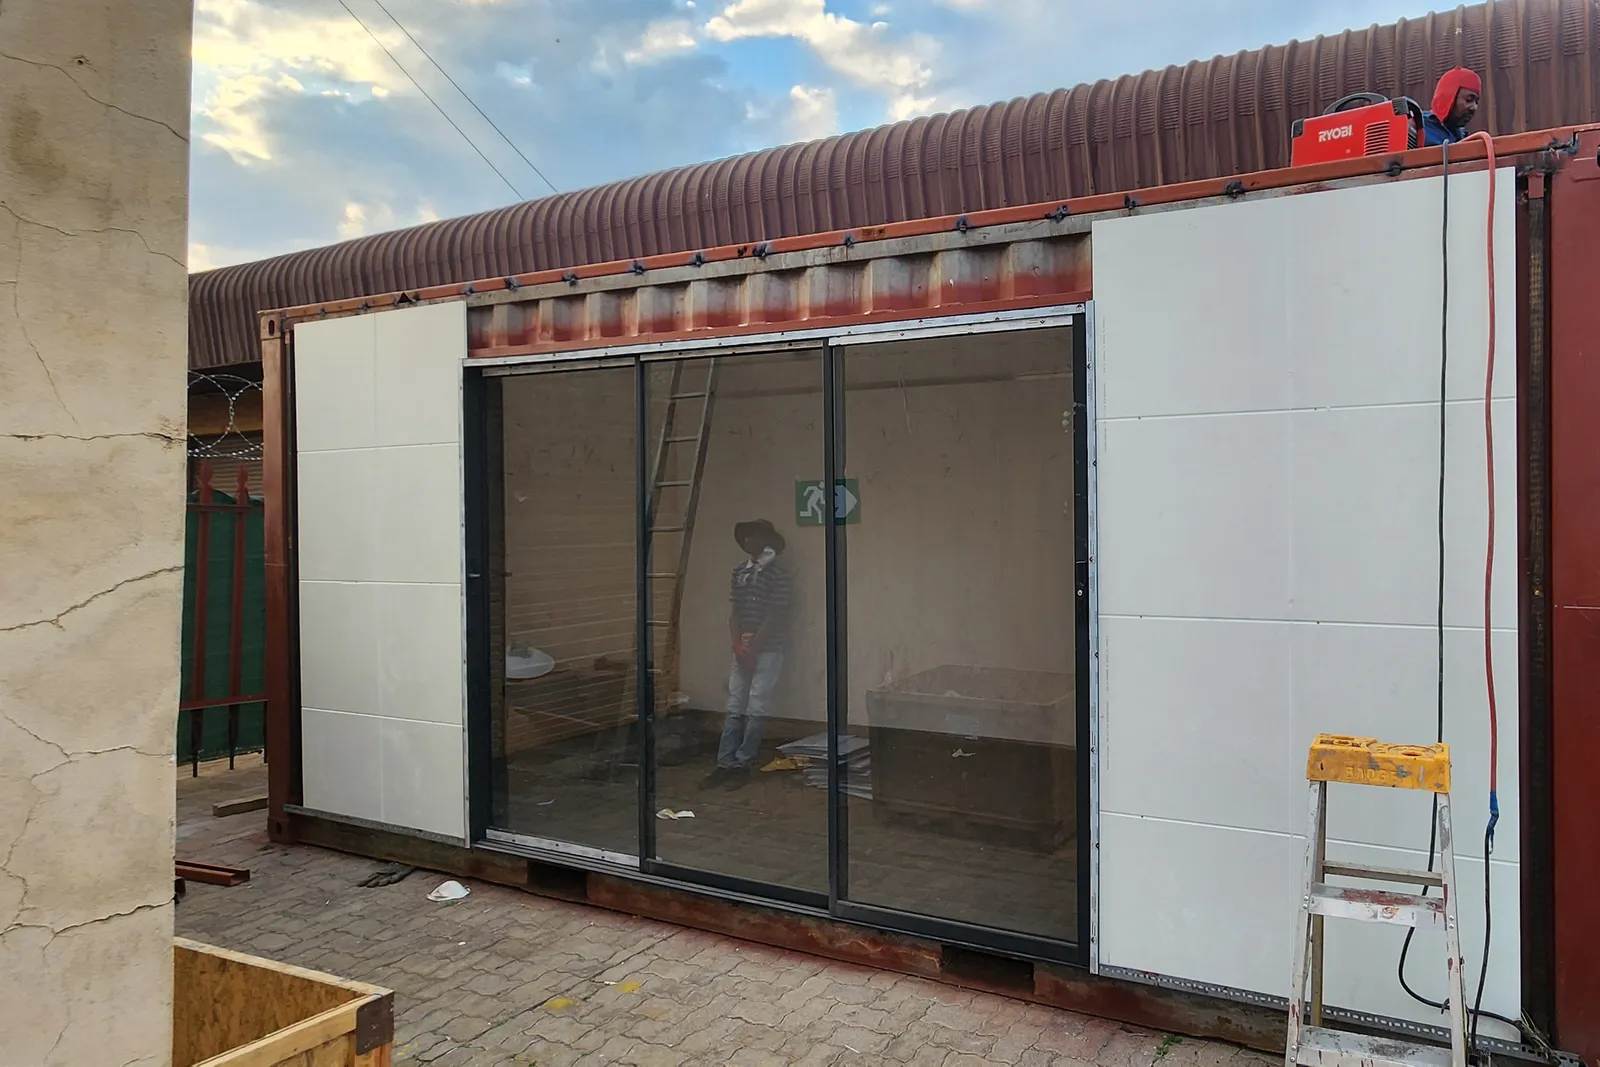
Glass sliding doors going in 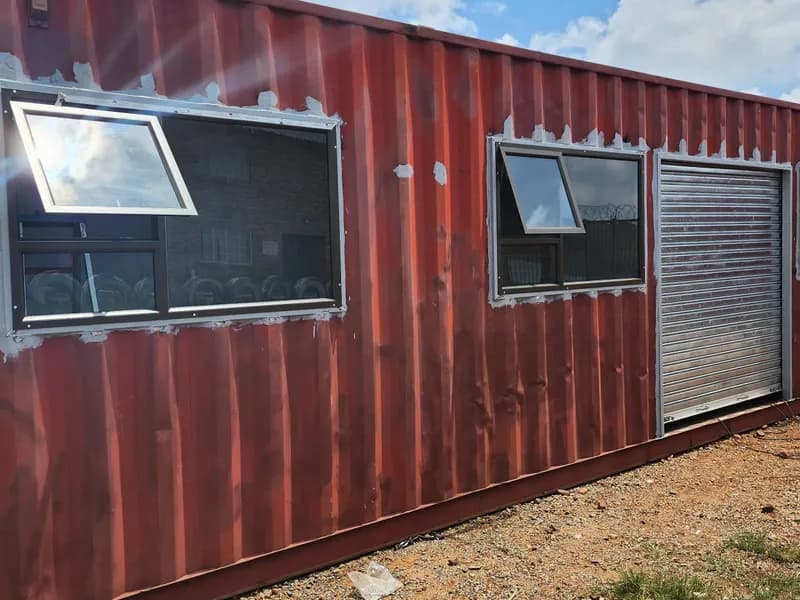
Glazed windows and a shutter along one side 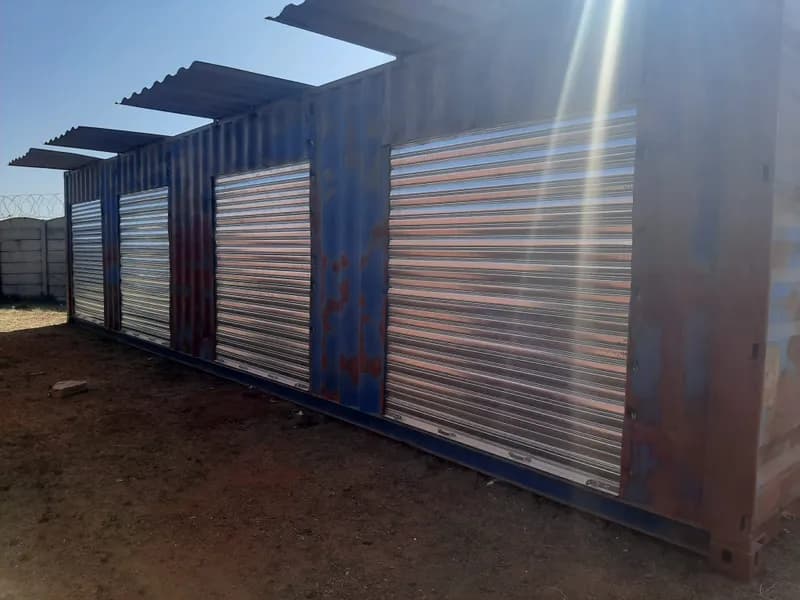
Roller shutters under a new roof overhang 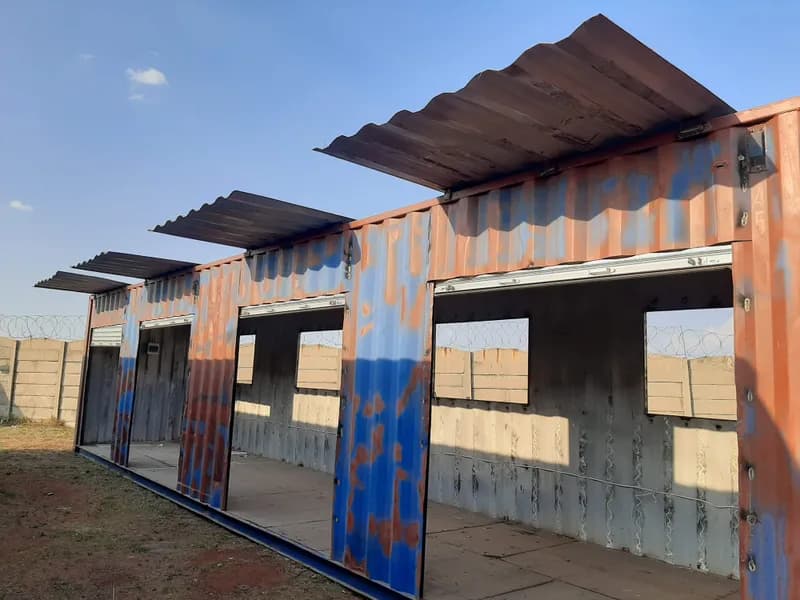
Wide openings with steel awnings
- Stage 3 of 5
Lining and fit-out
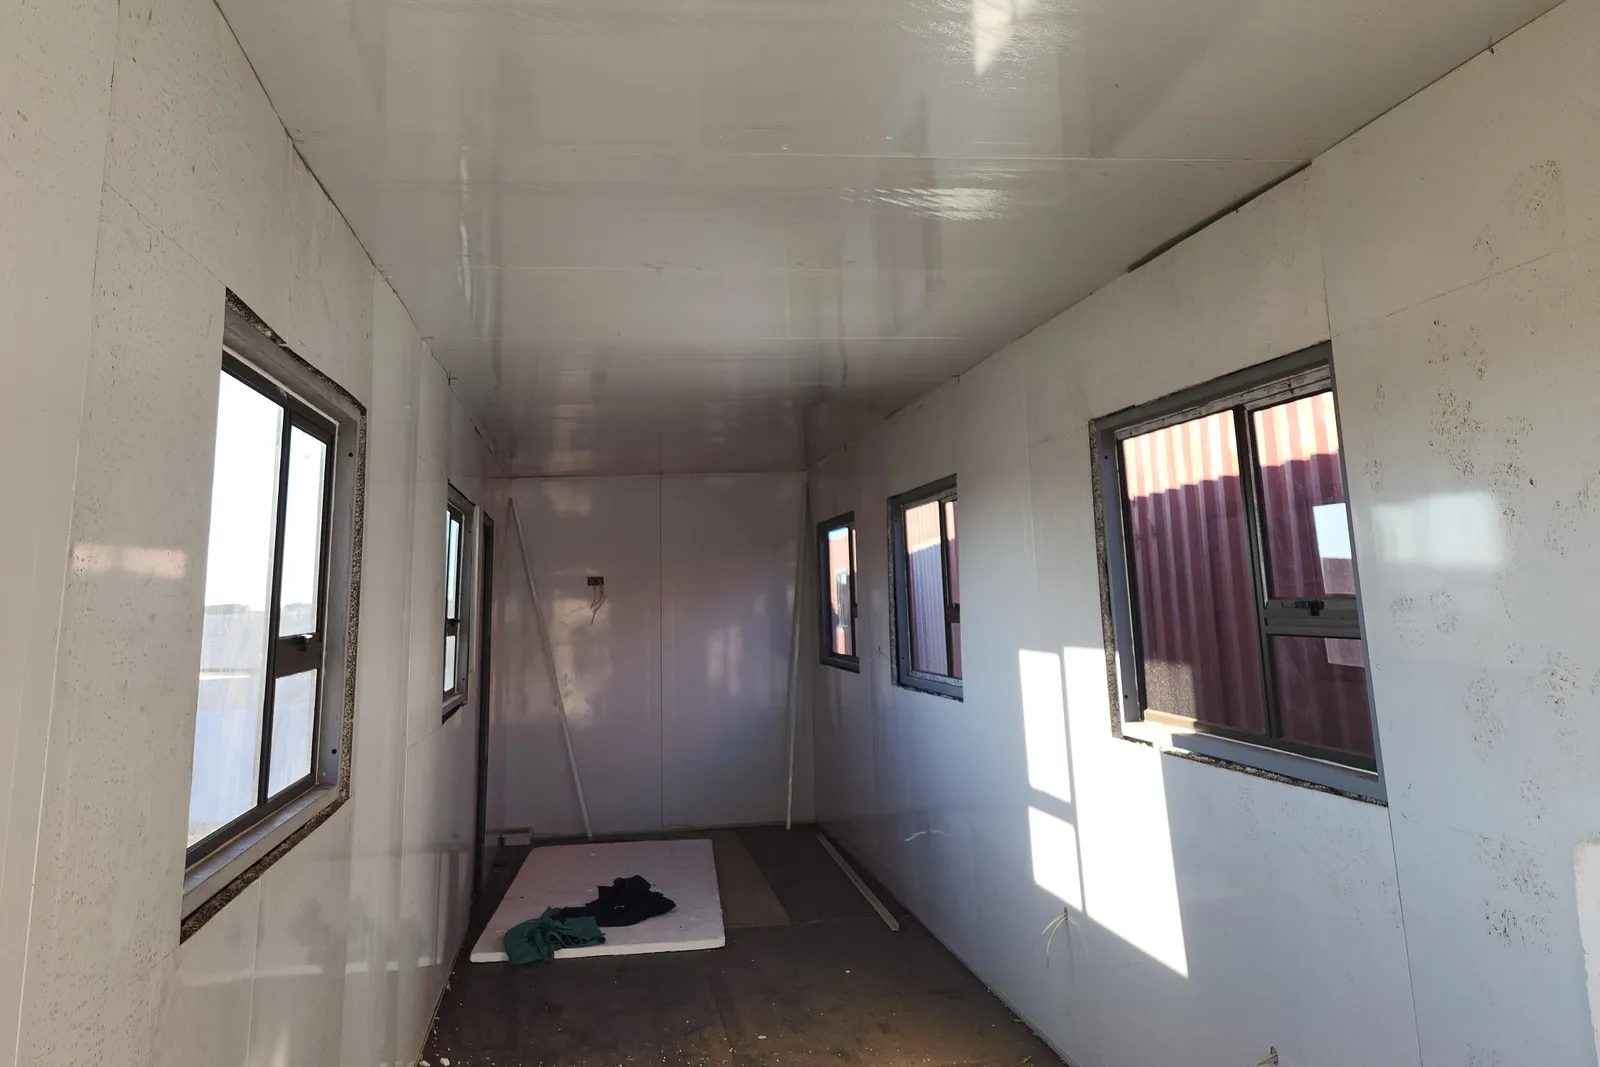
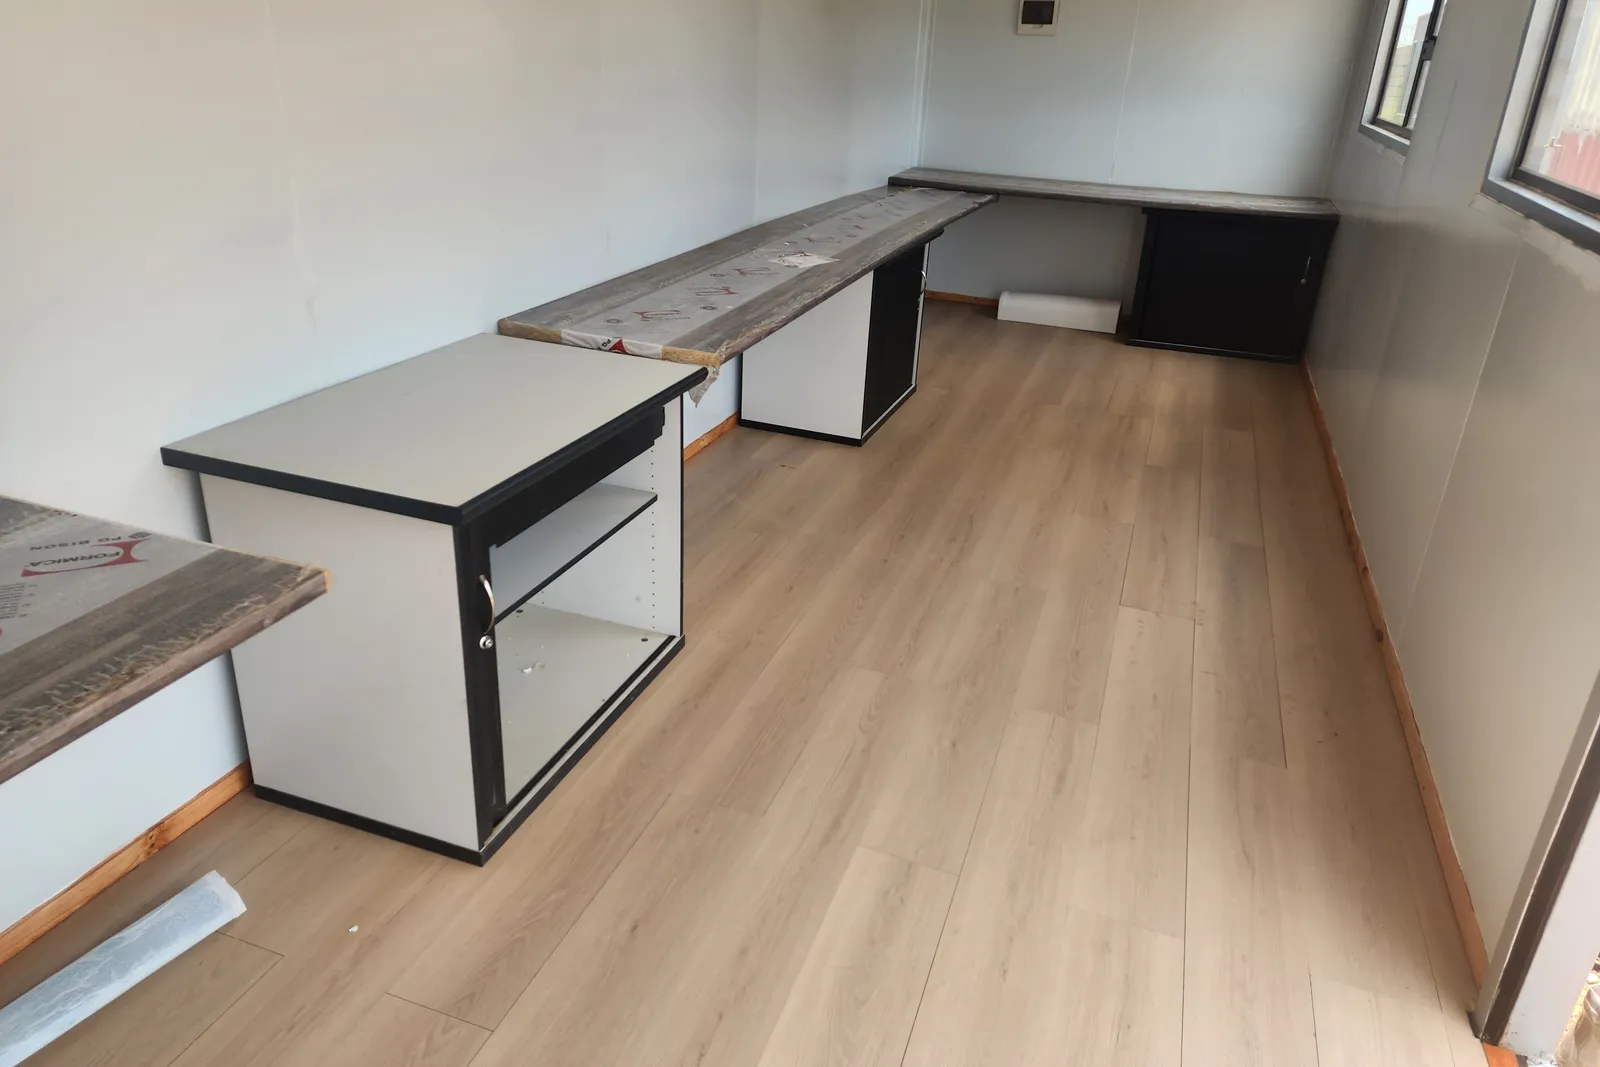
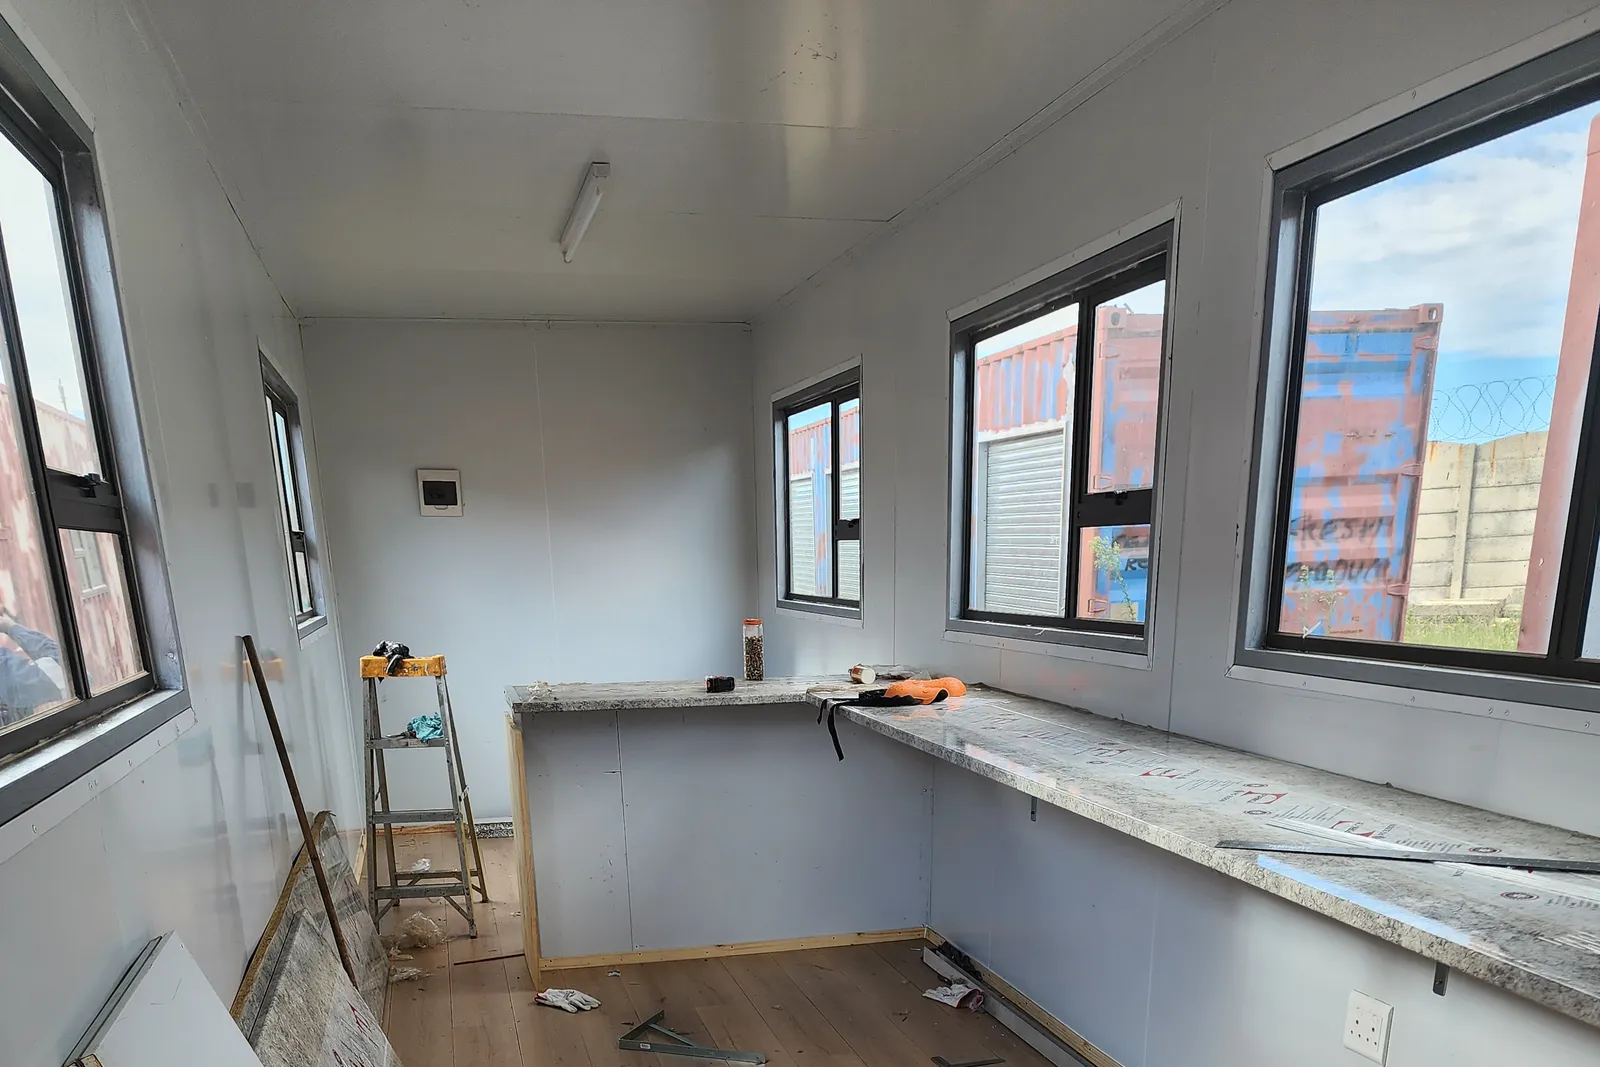
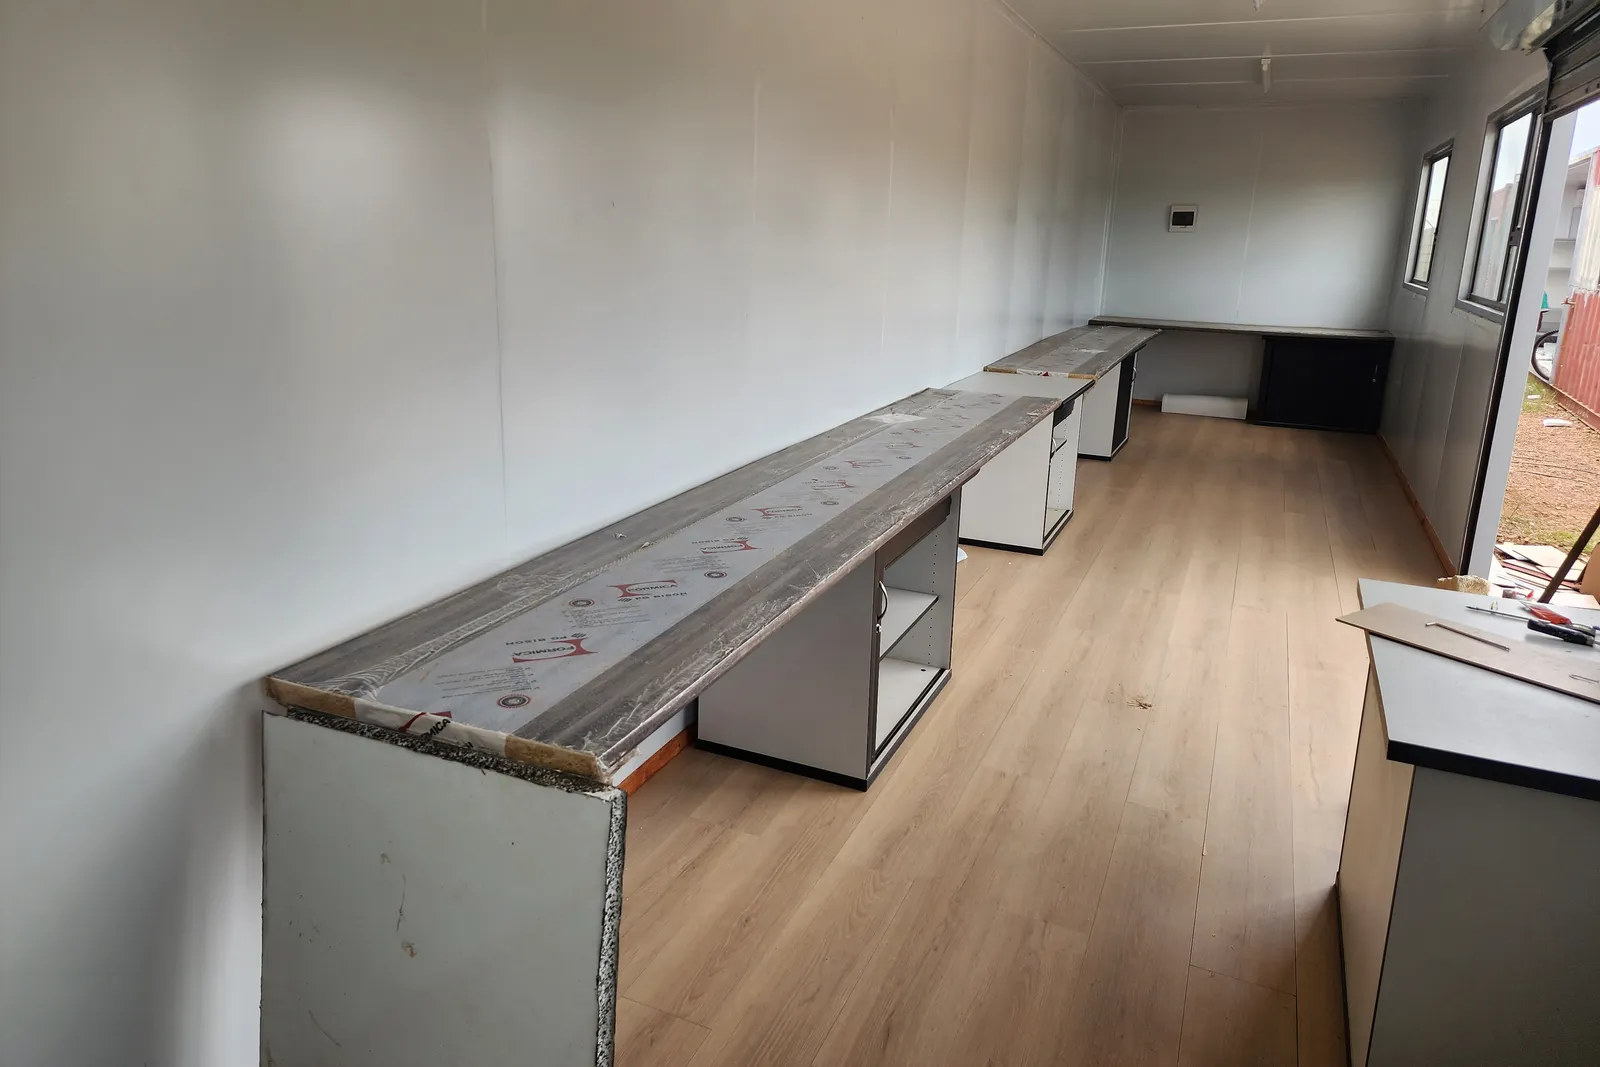
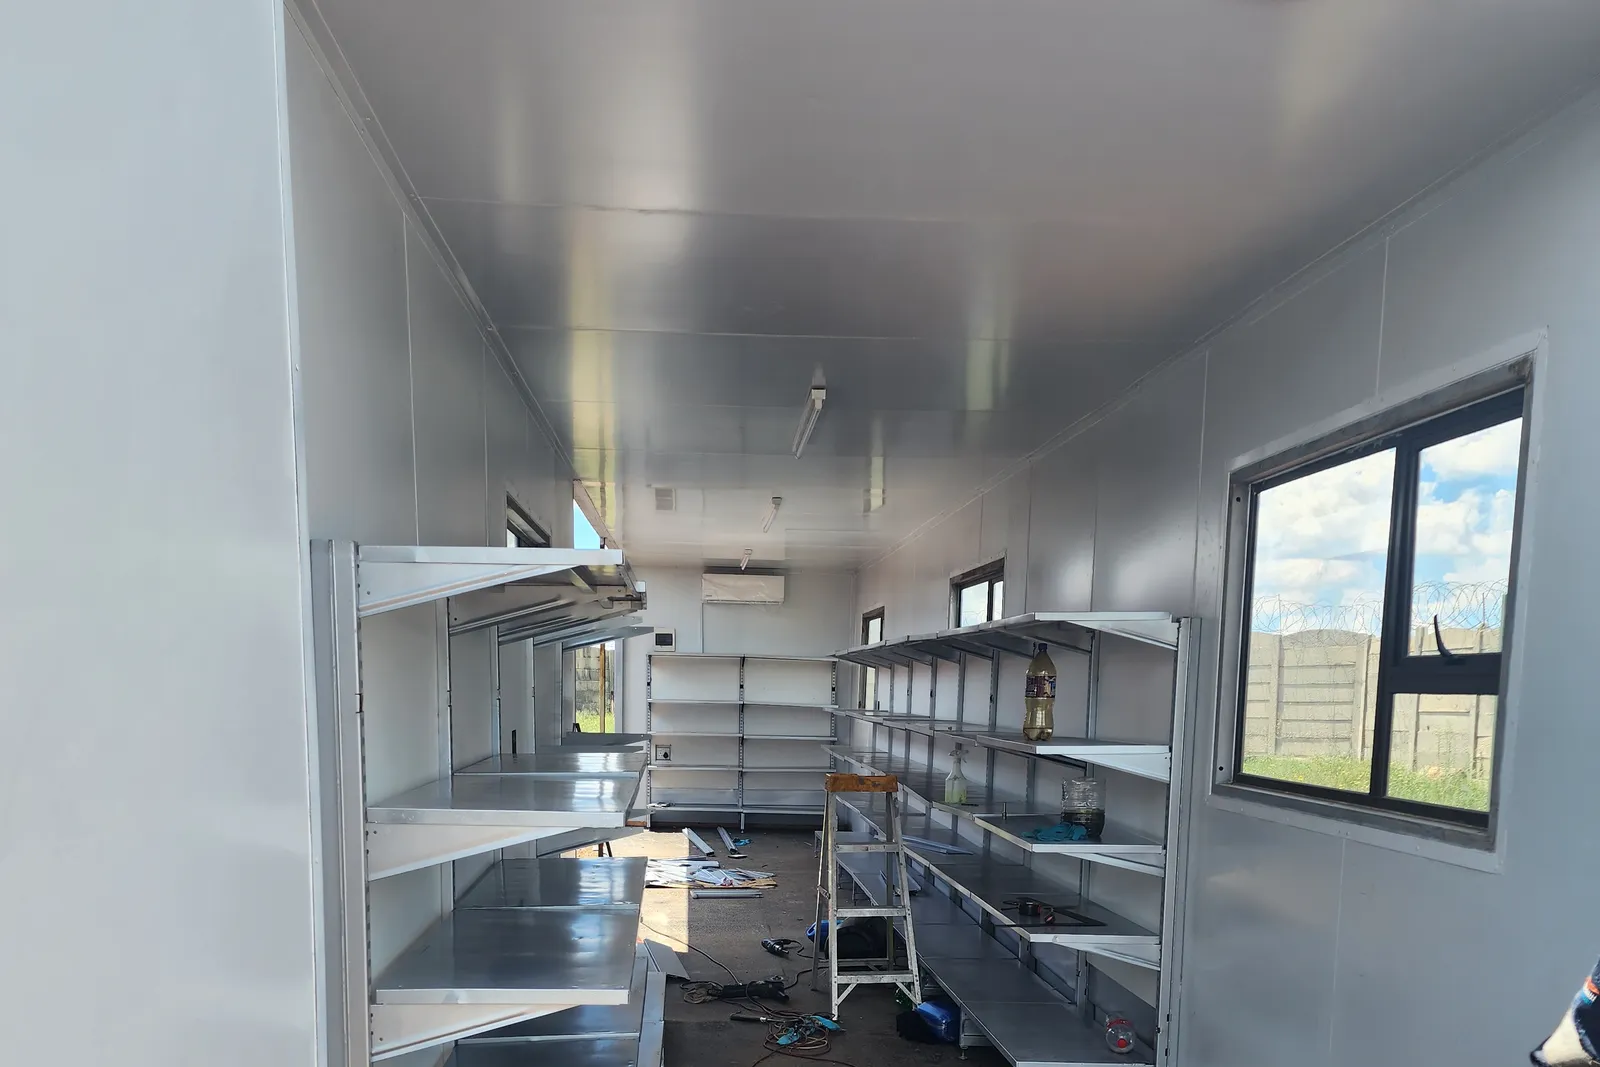
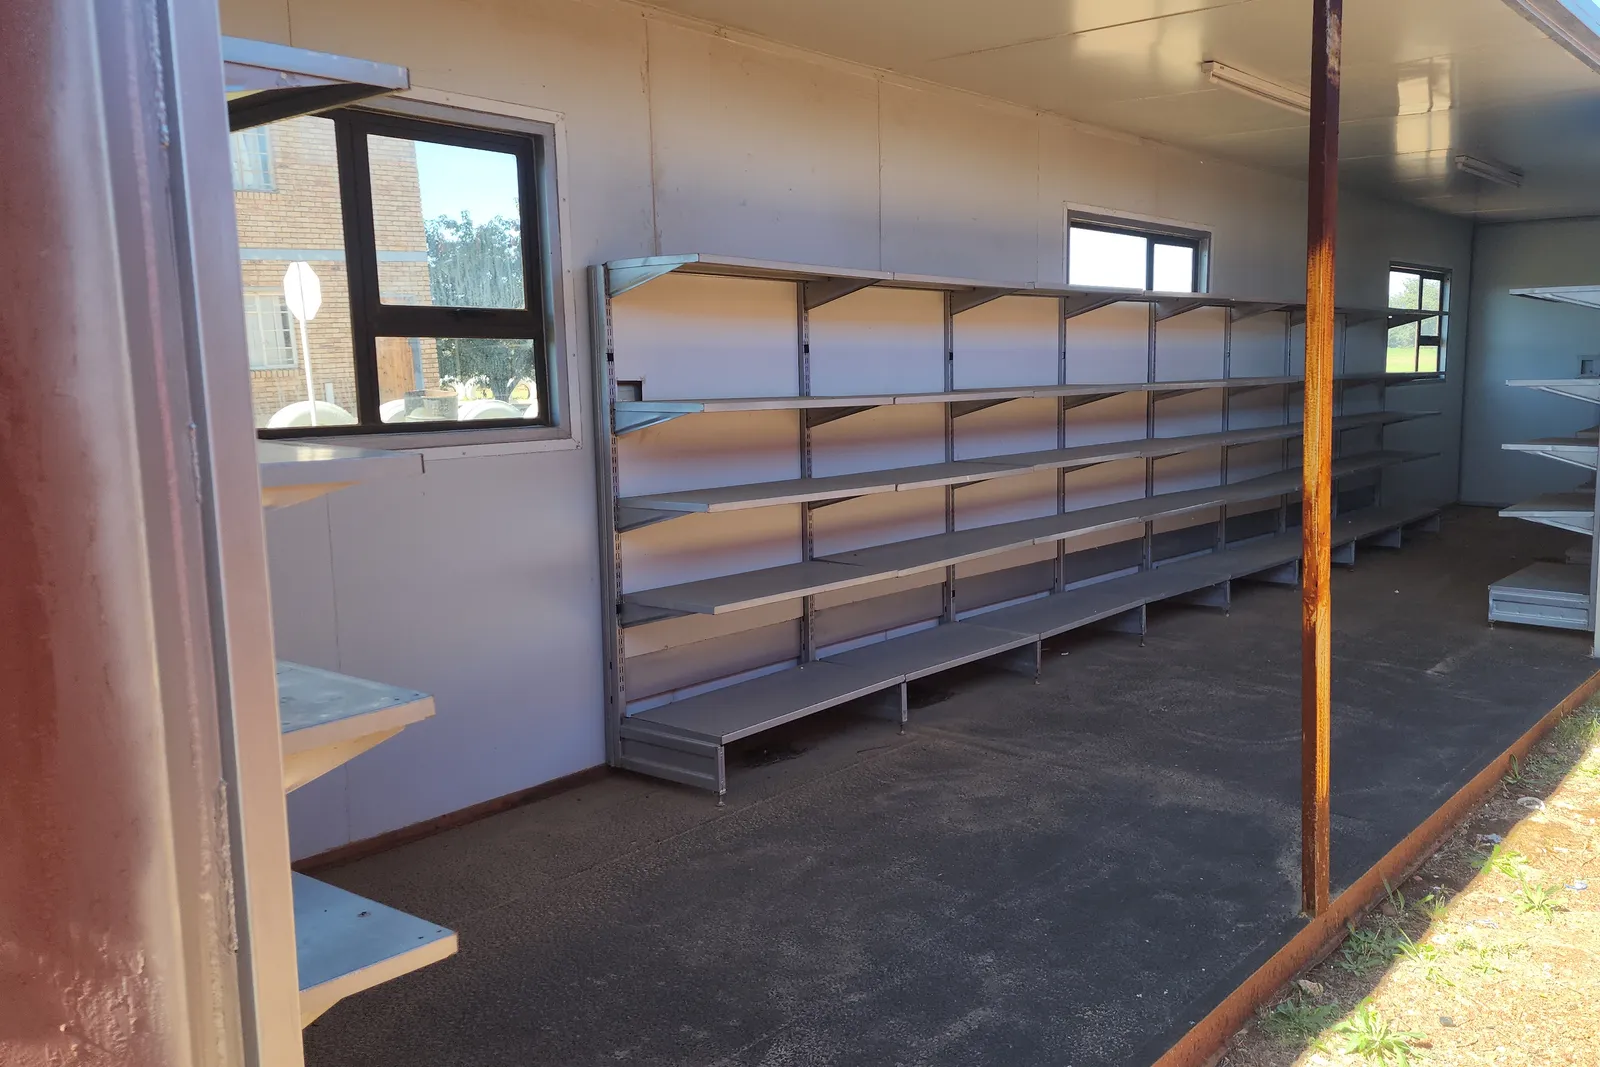
Inside, the steel is lined, insulated and painted, flooring goes down, and the unit is fitted out for its job: desks for an office, a counter for a shop, shelving for a store.

Lined, insulated and painted 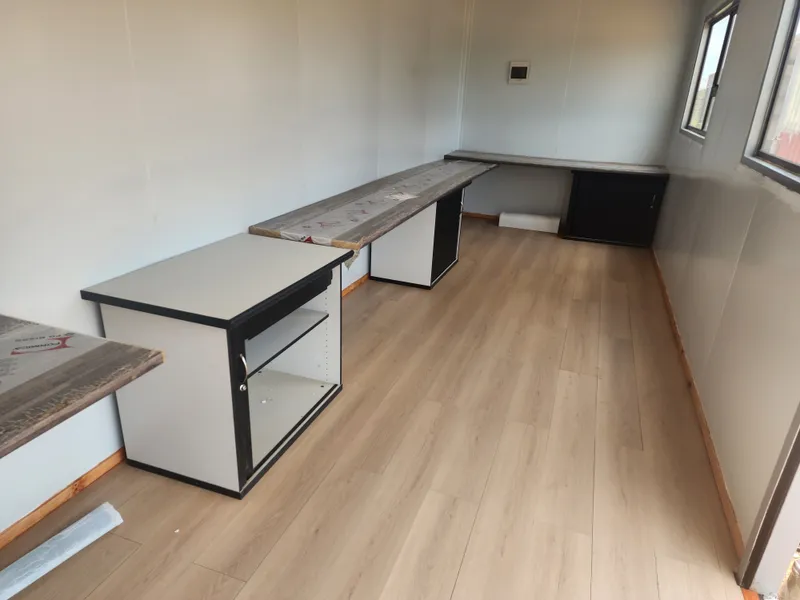
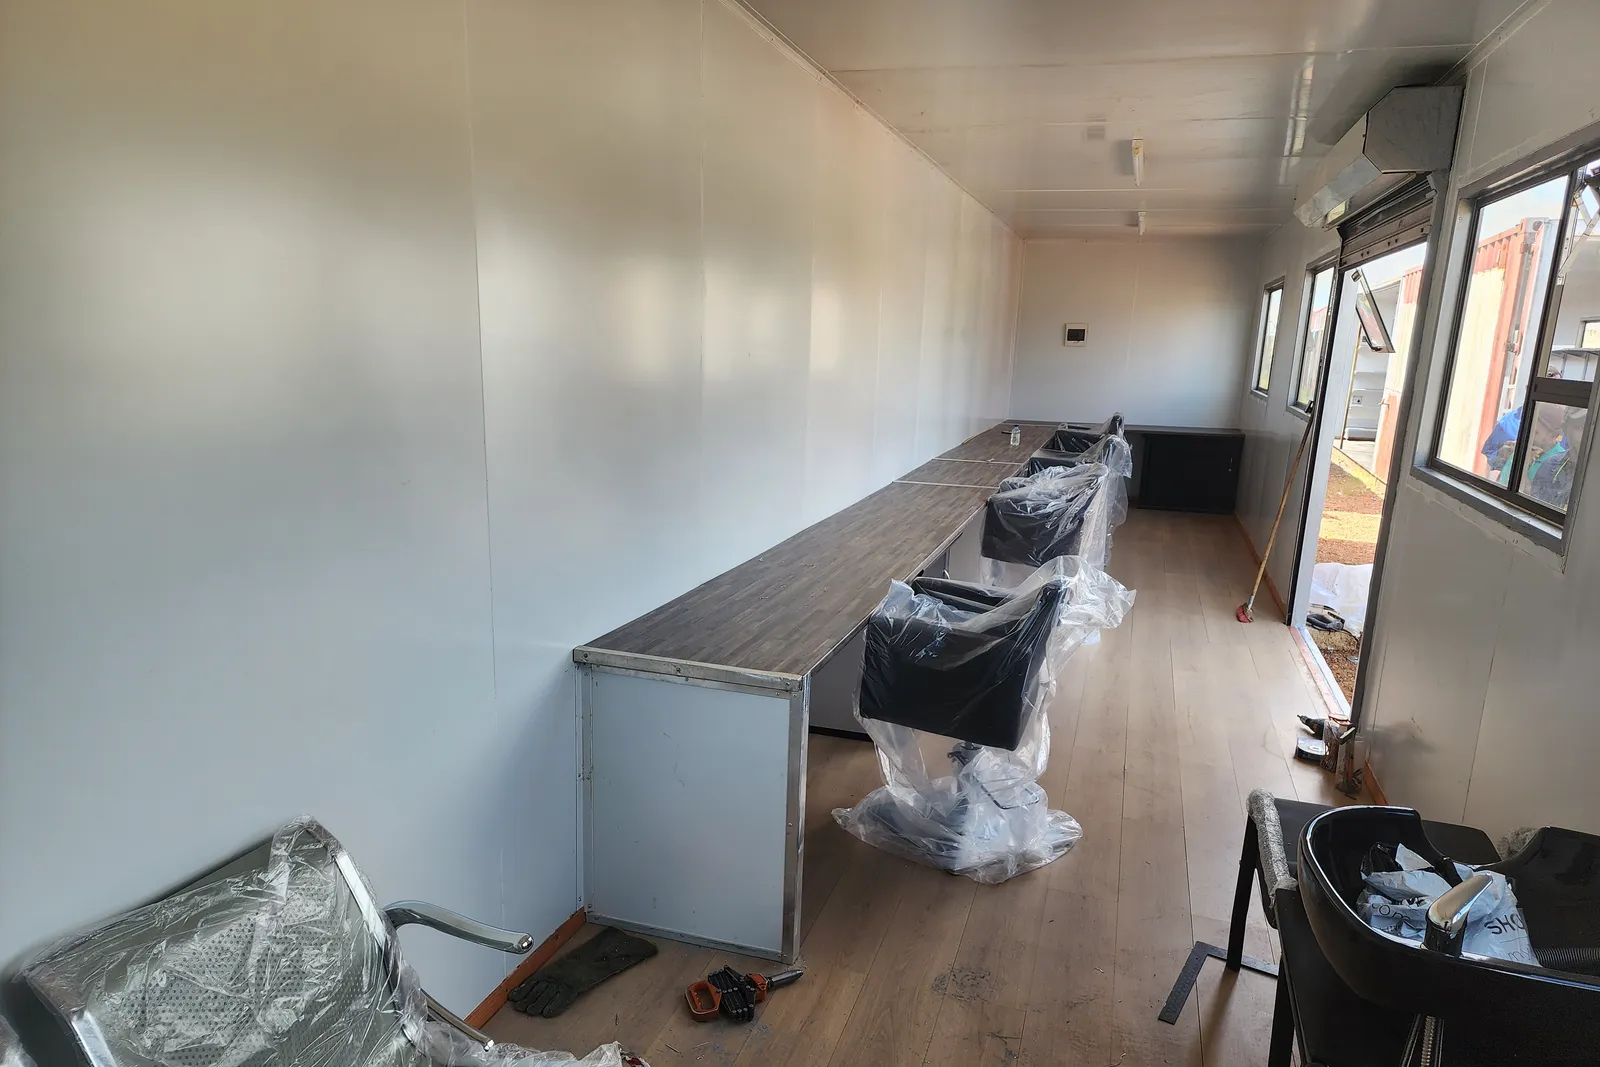
Office fit-out with laminate flooring 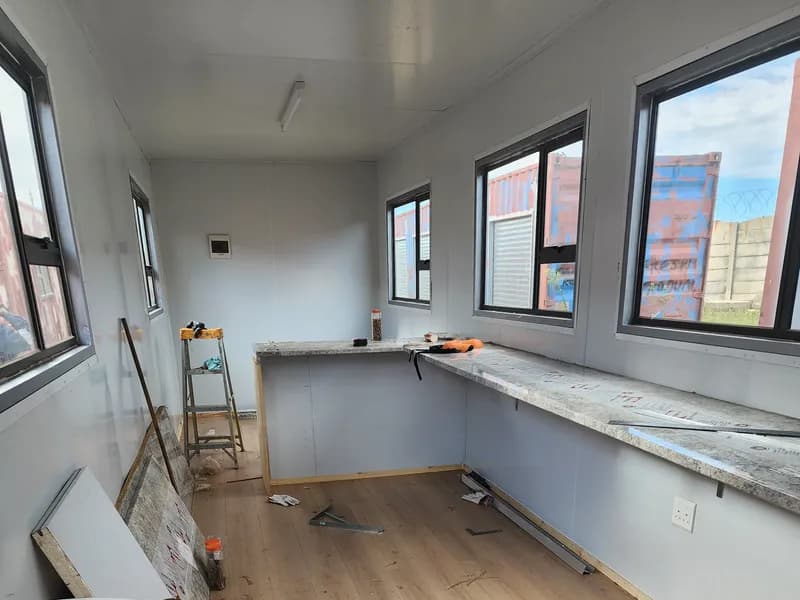
Counter fitted over new laminate flooring 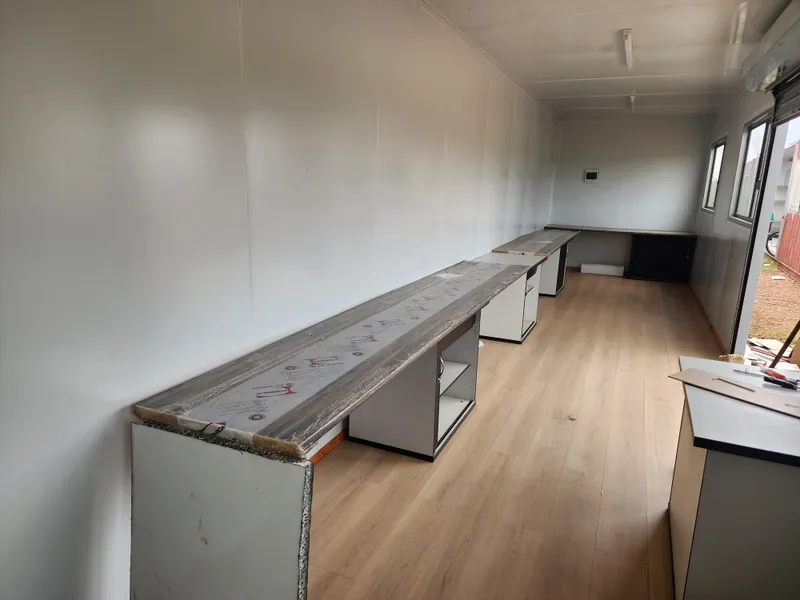
Built-in desk run along the length 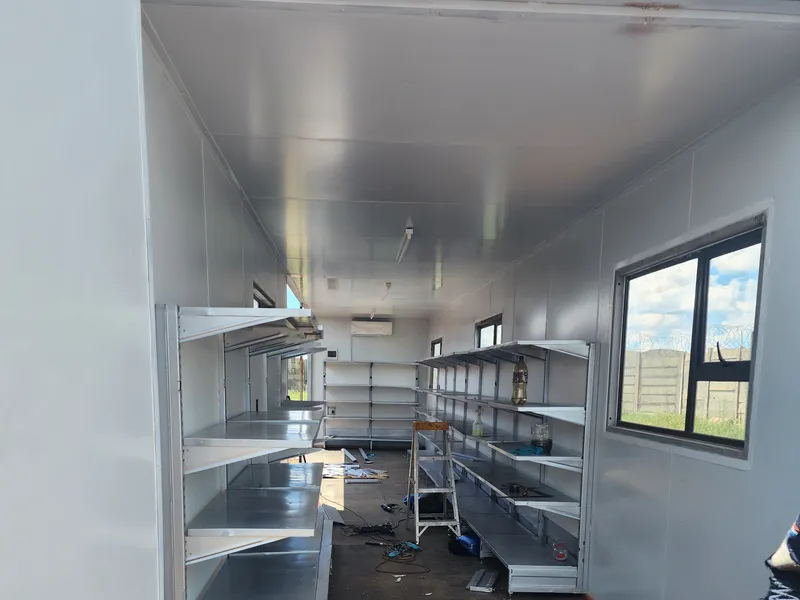
Shelving going in 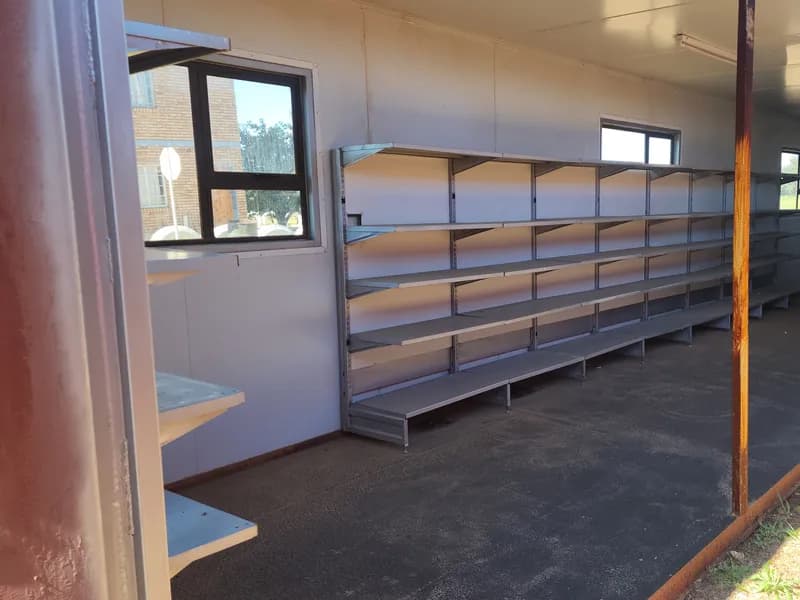
Shelving installed for a storage conversion
- Stage 4 of 5
Cladding and finishes
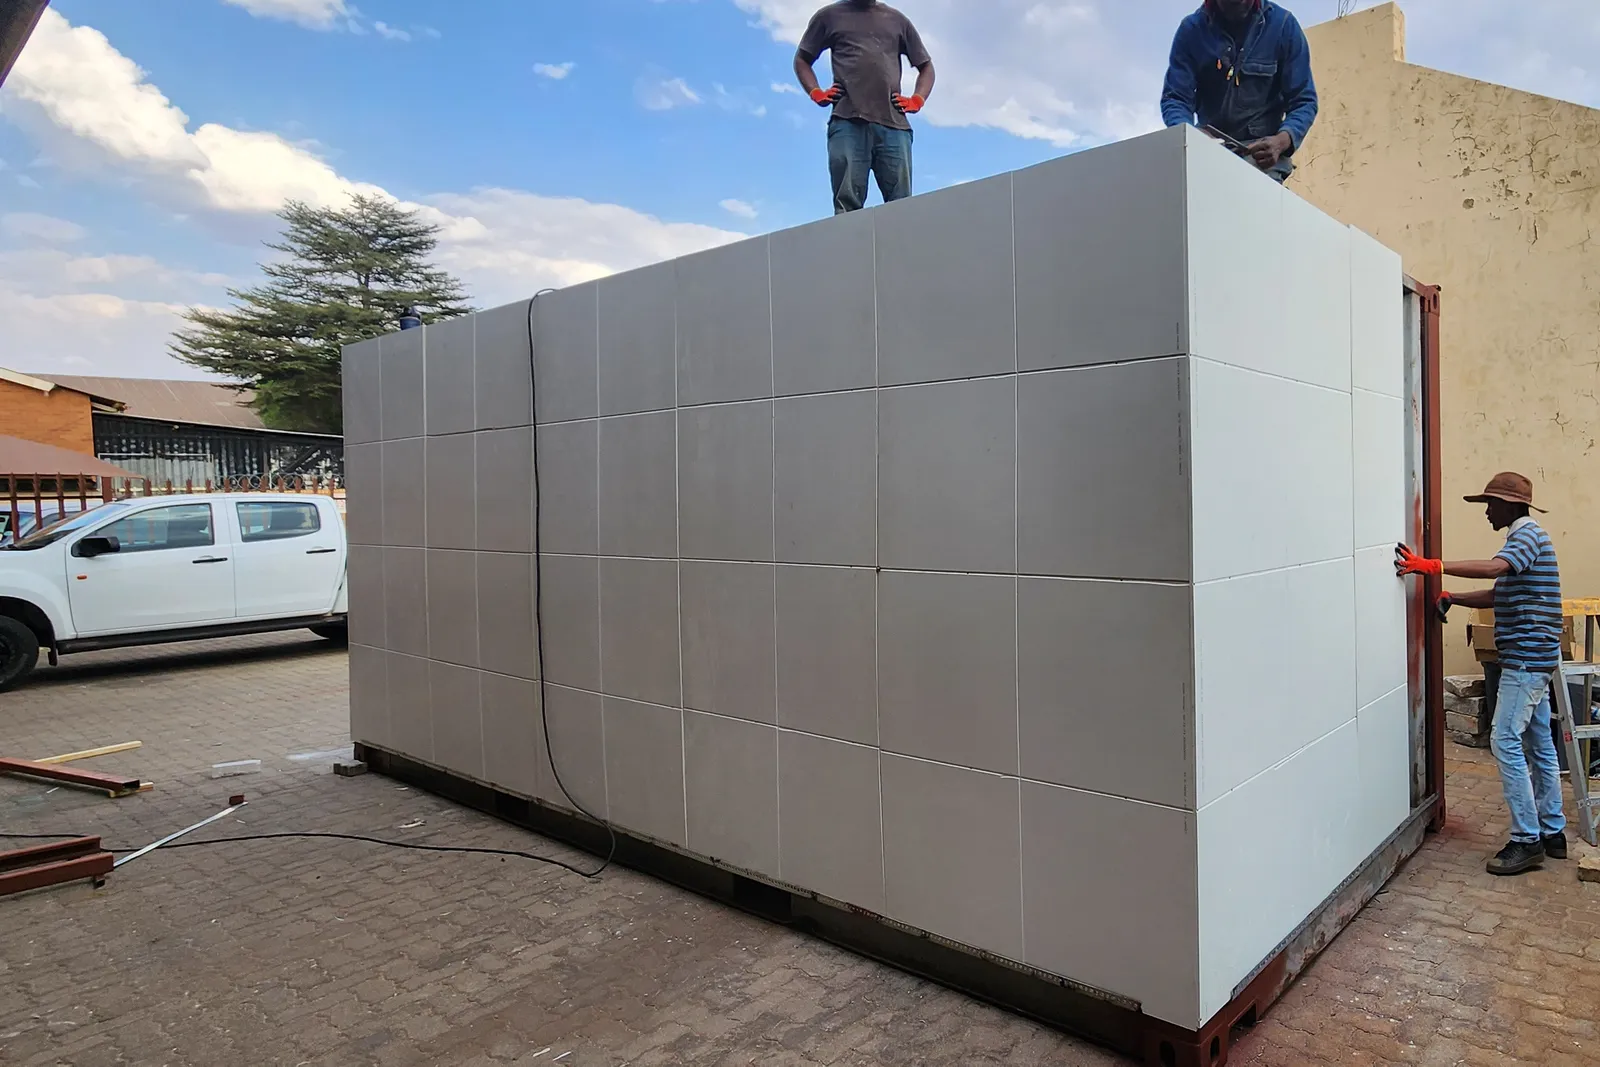
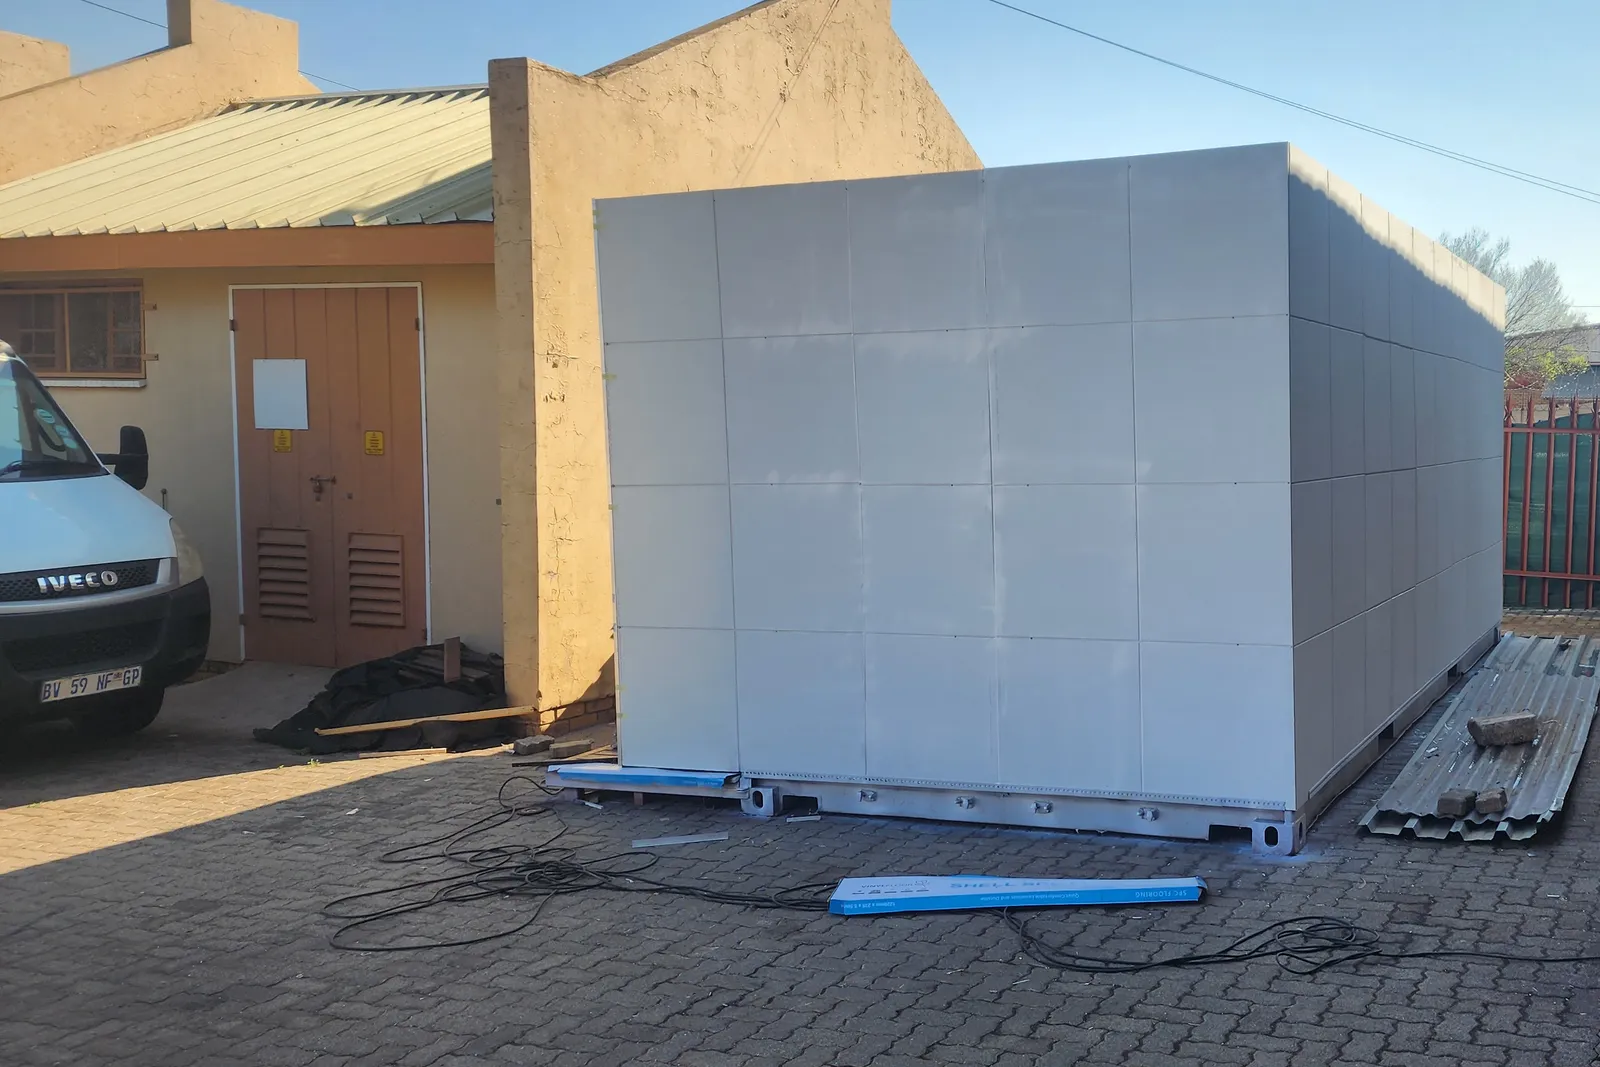
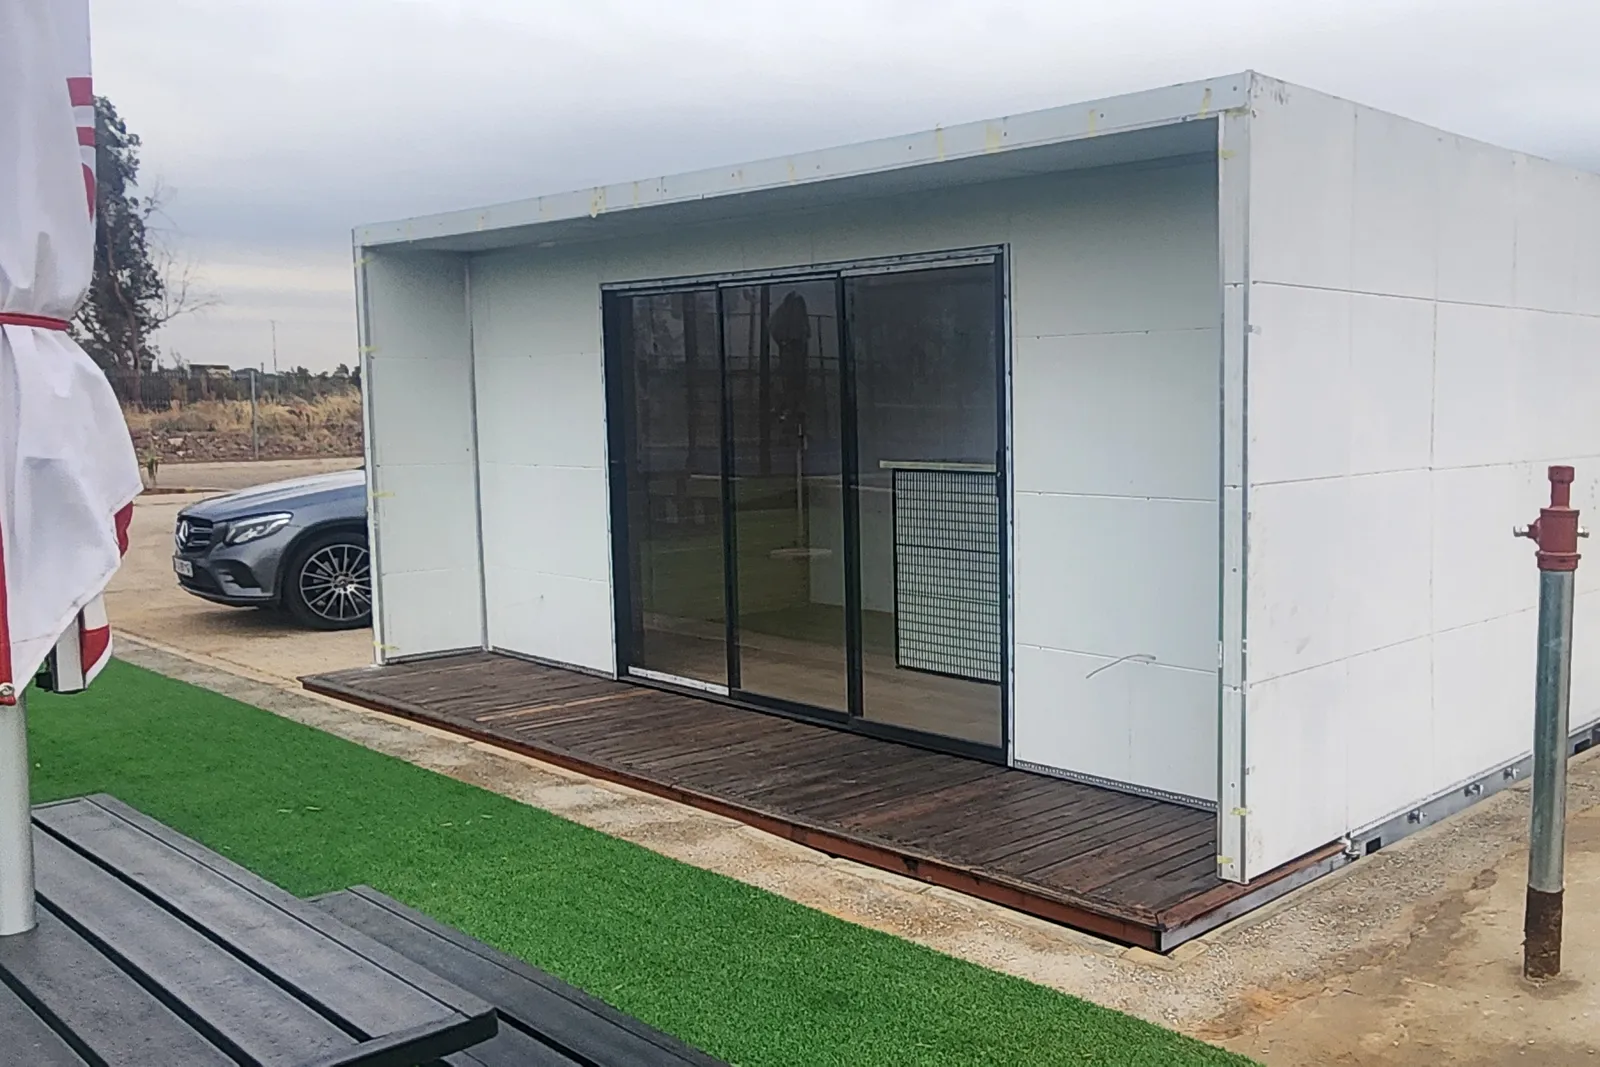
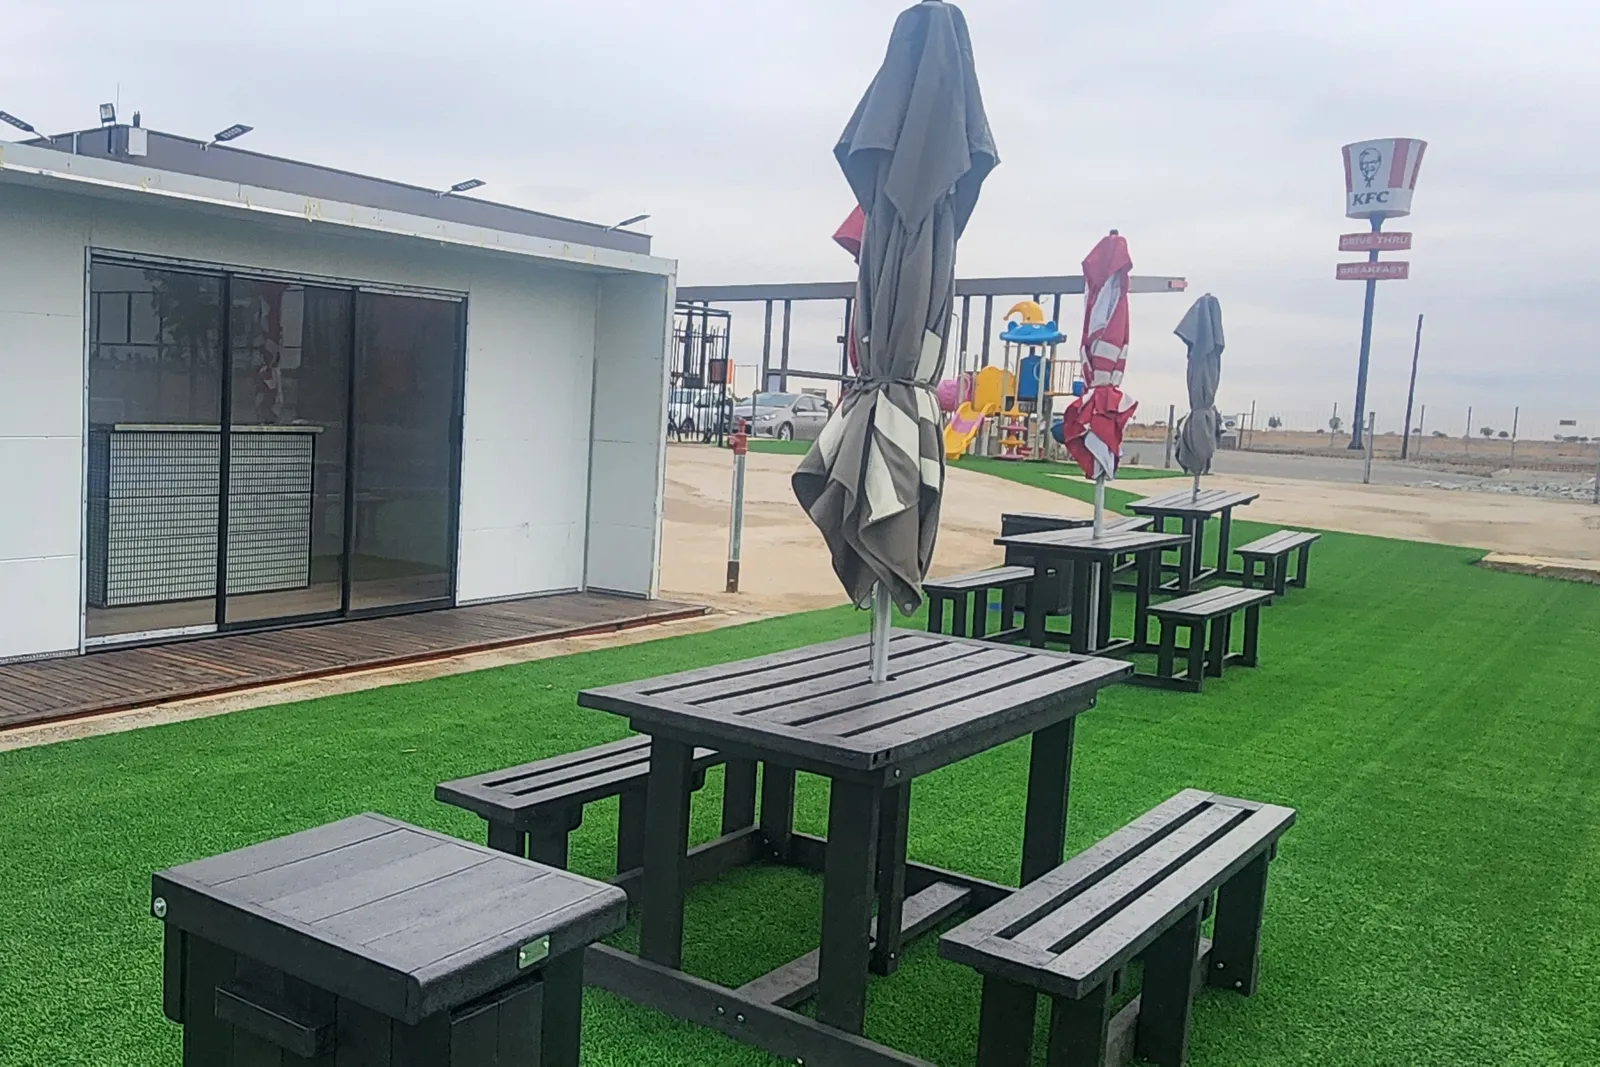
Where a unit should not look like a container, cladding panels go over the outside, and decking and seating finish the space around it.
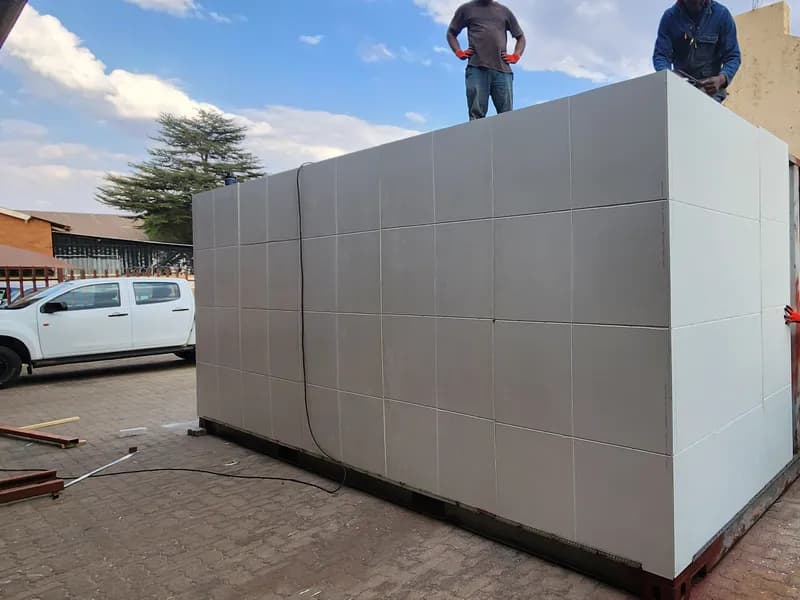
Cladding panels going on 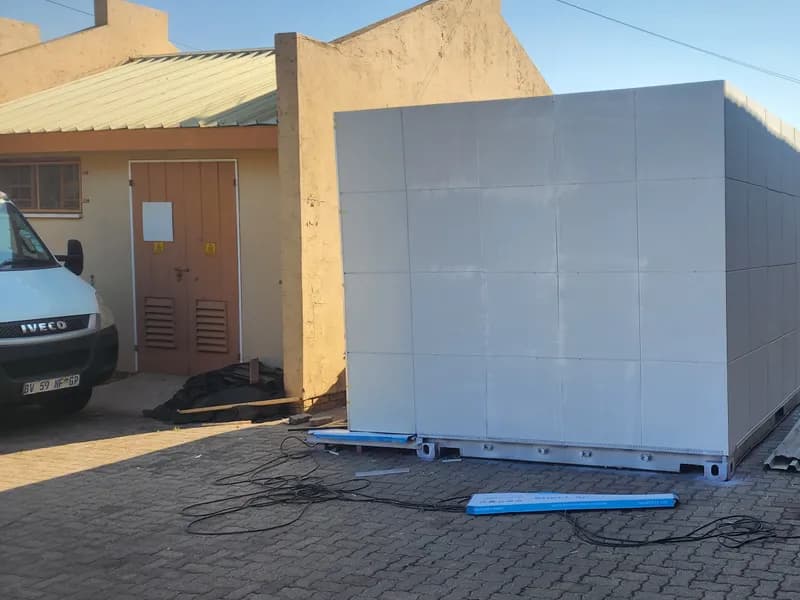
A fully clad unit before finishing 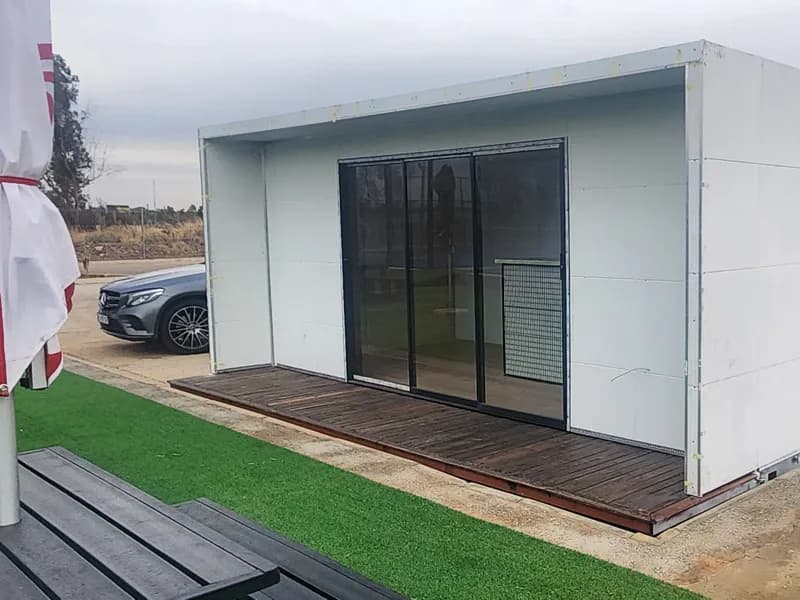
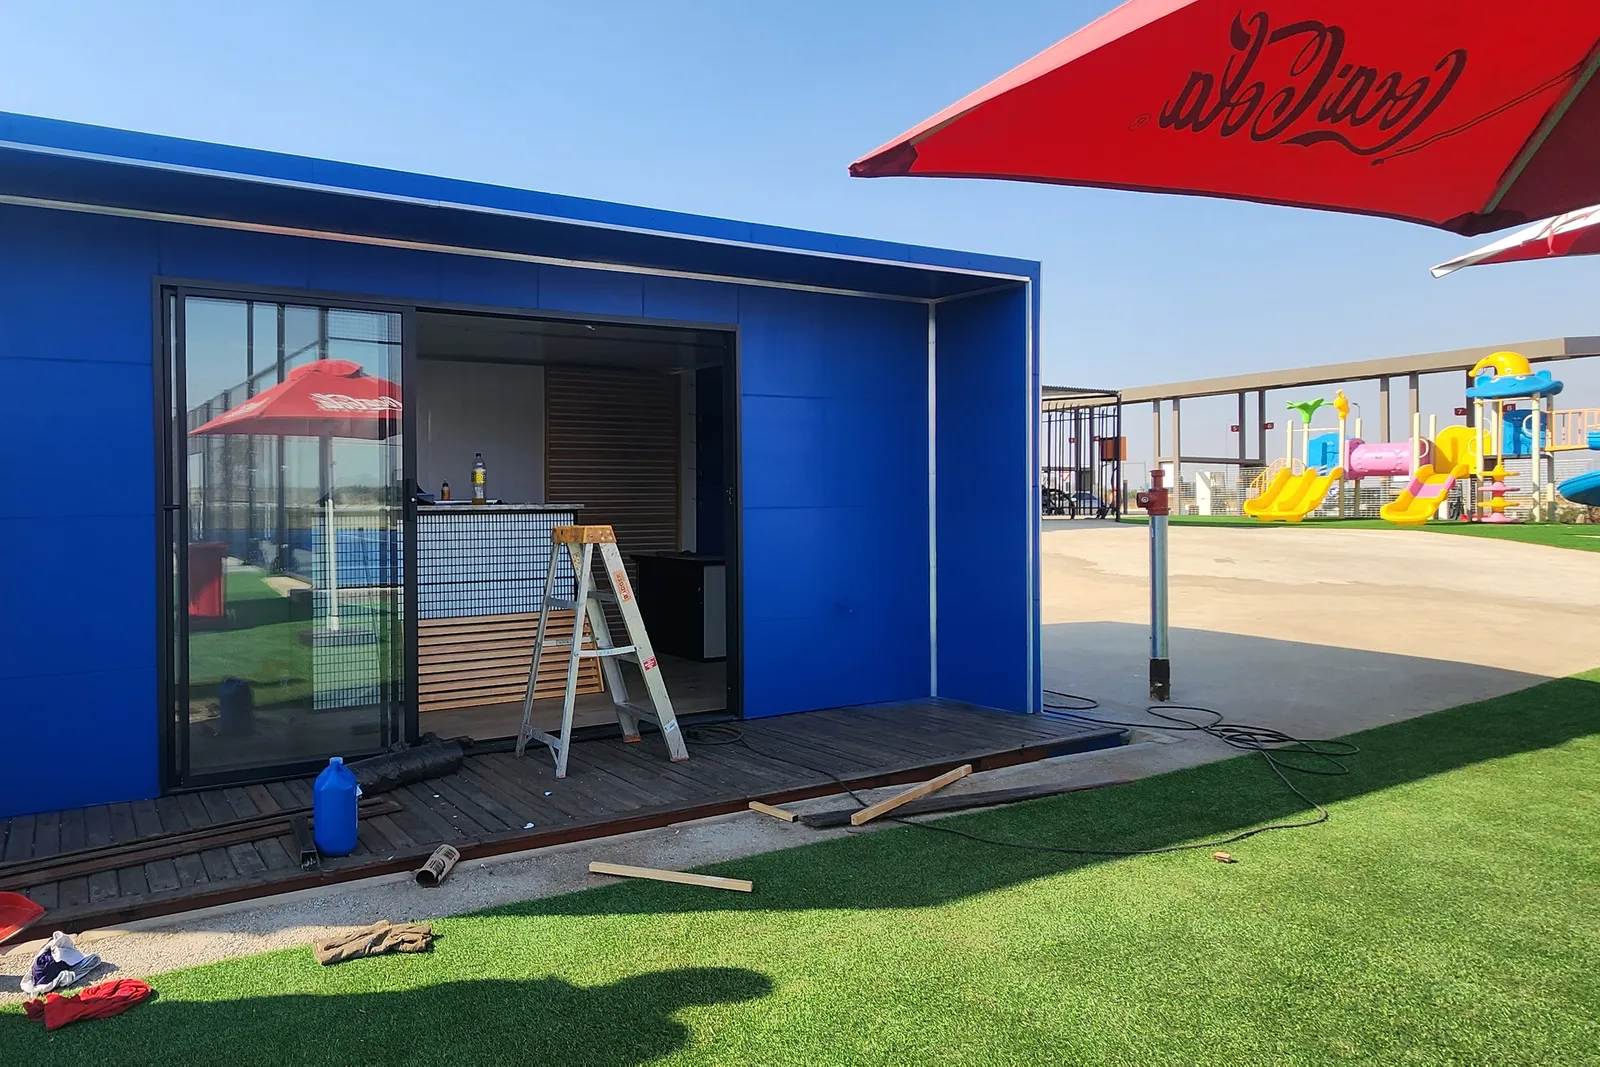
Sliding glass front and external cladding 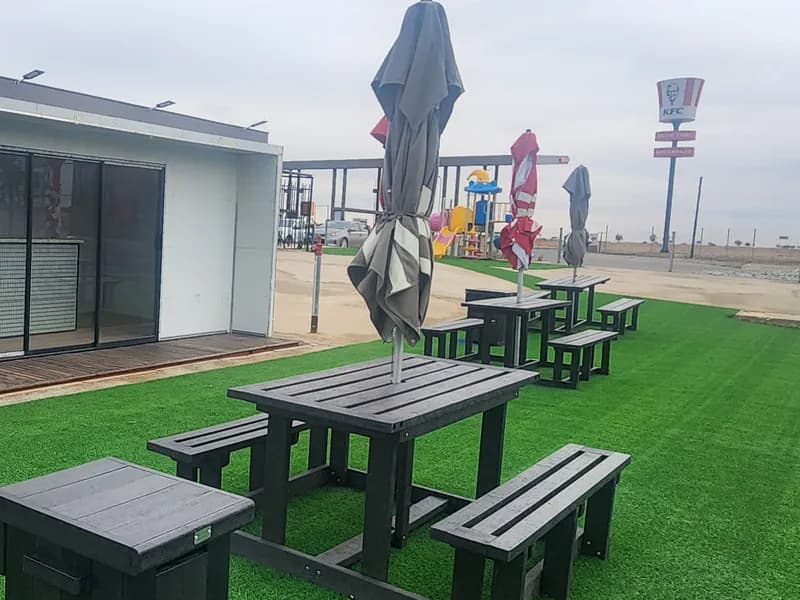
Finished unit with decking and seating
- Stage 5 of 5
Delivery and in use
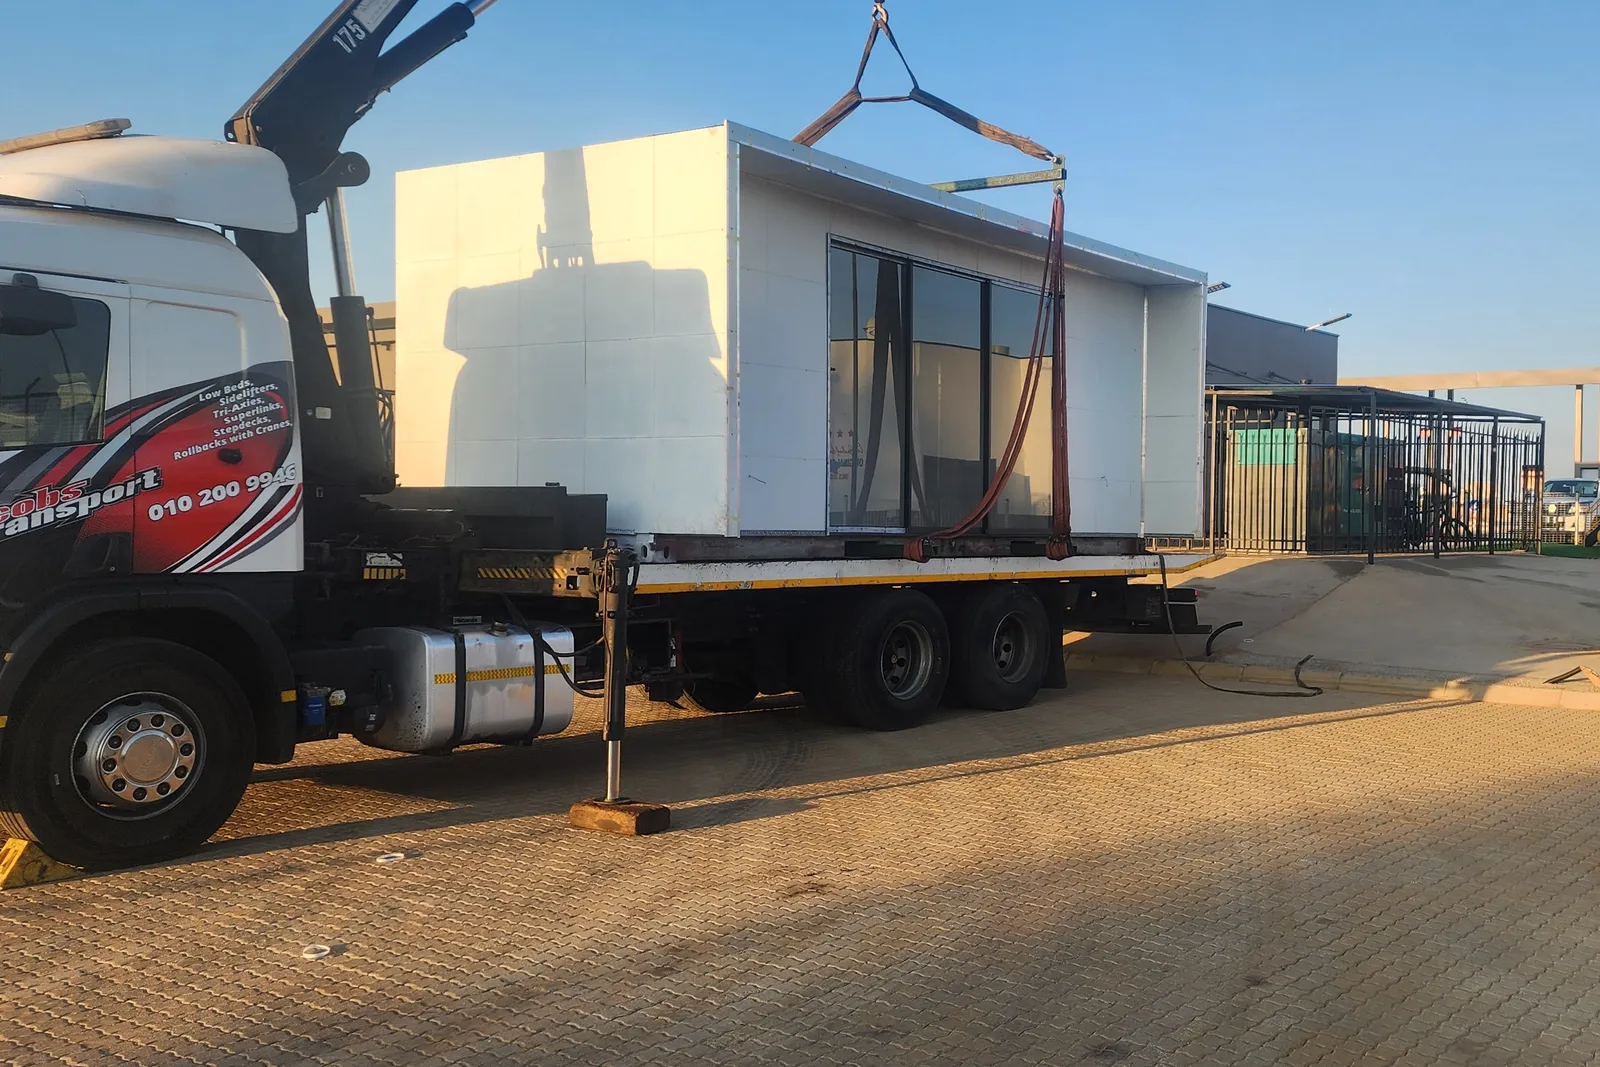
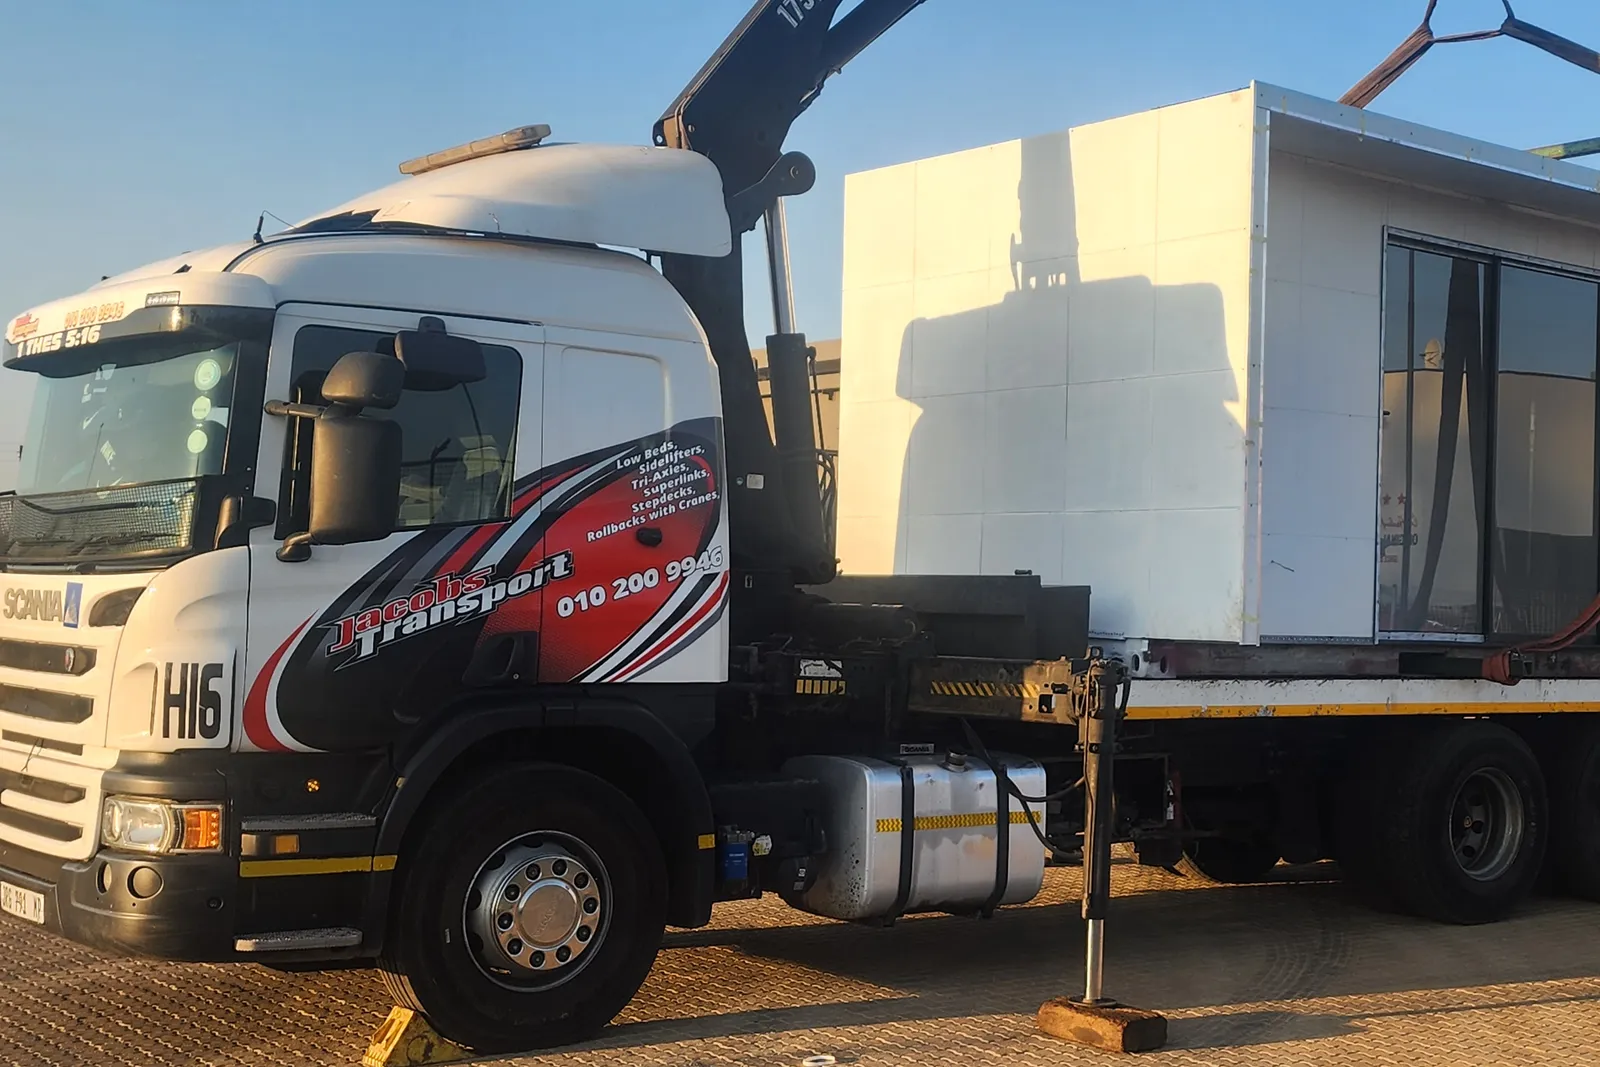
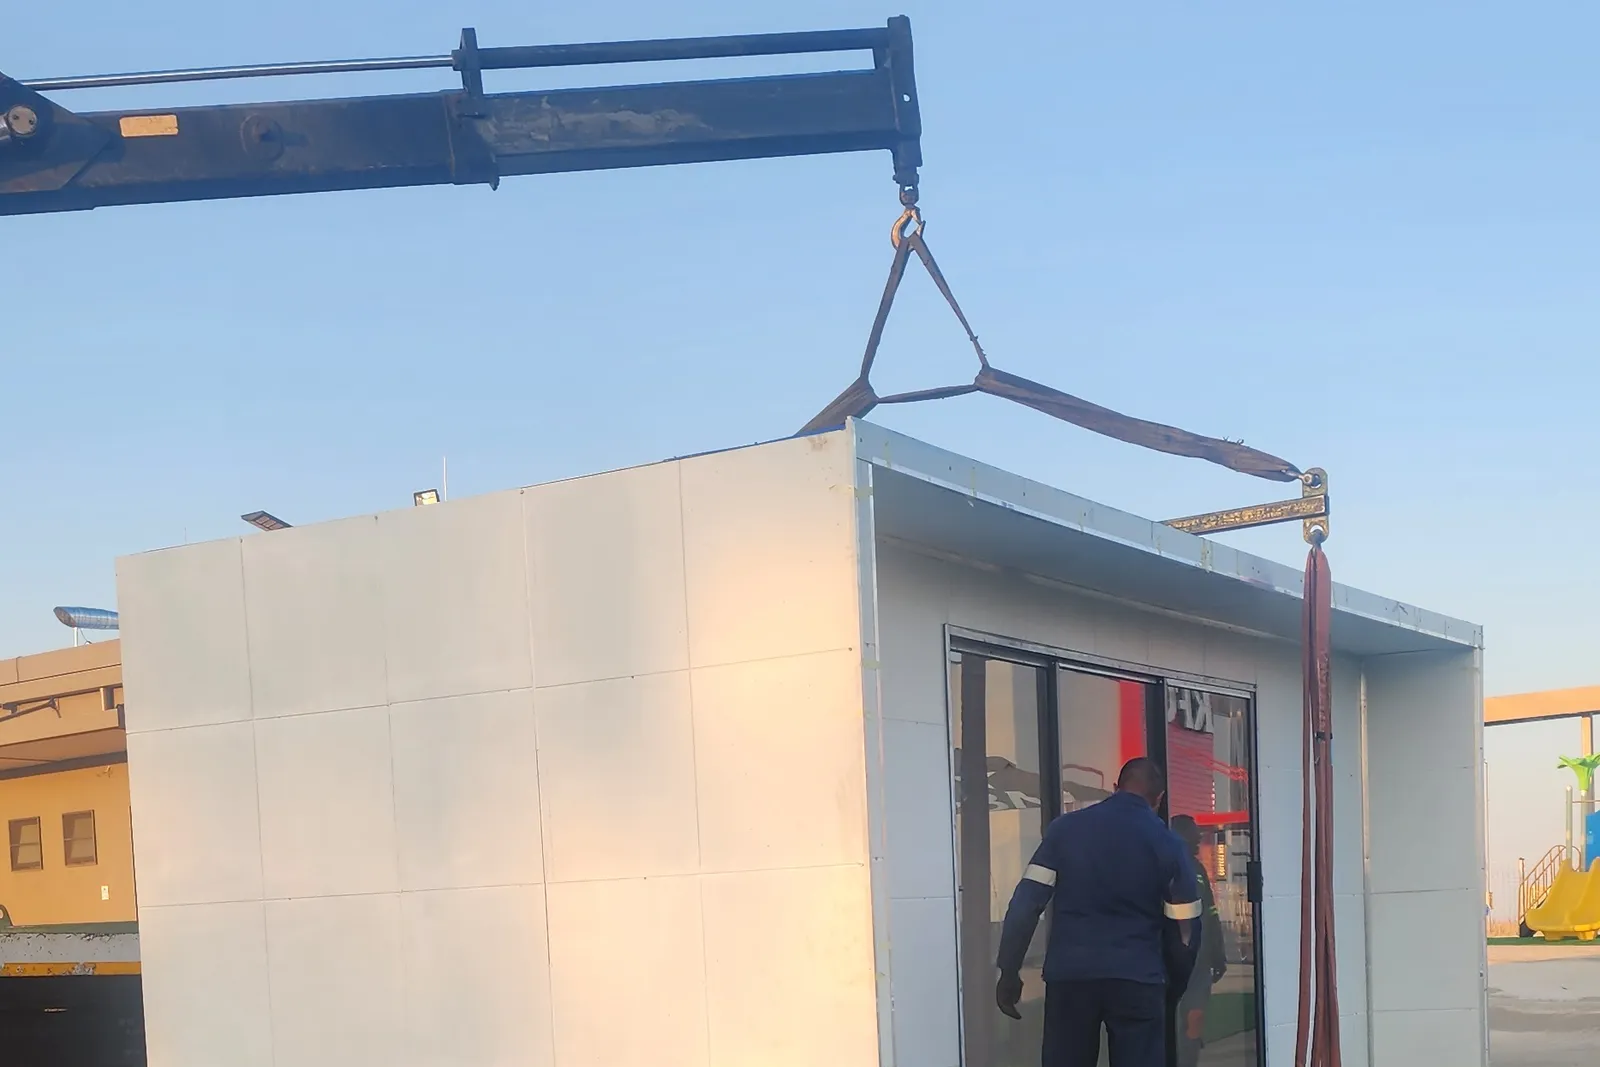
The finished unit is lifted onto the truck, craned in on site and set down level, ready to be used.
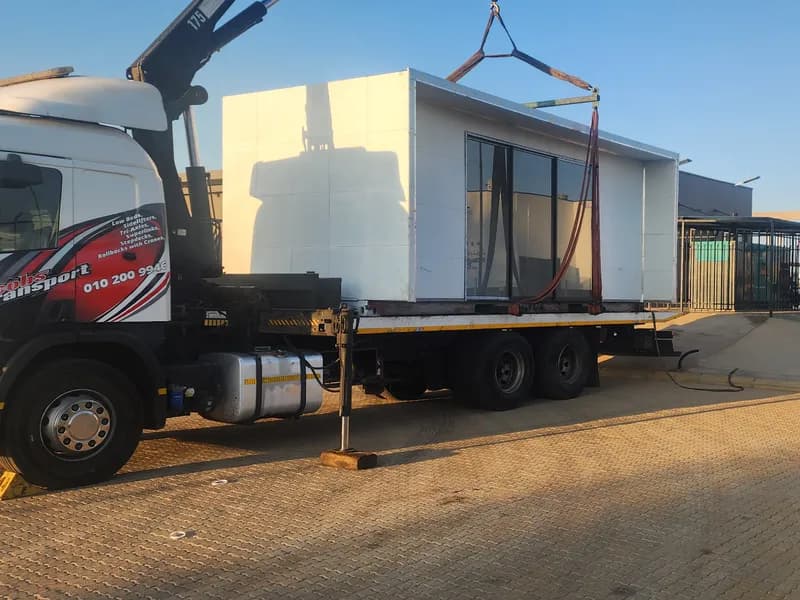
A finished unit lifted onto the truck 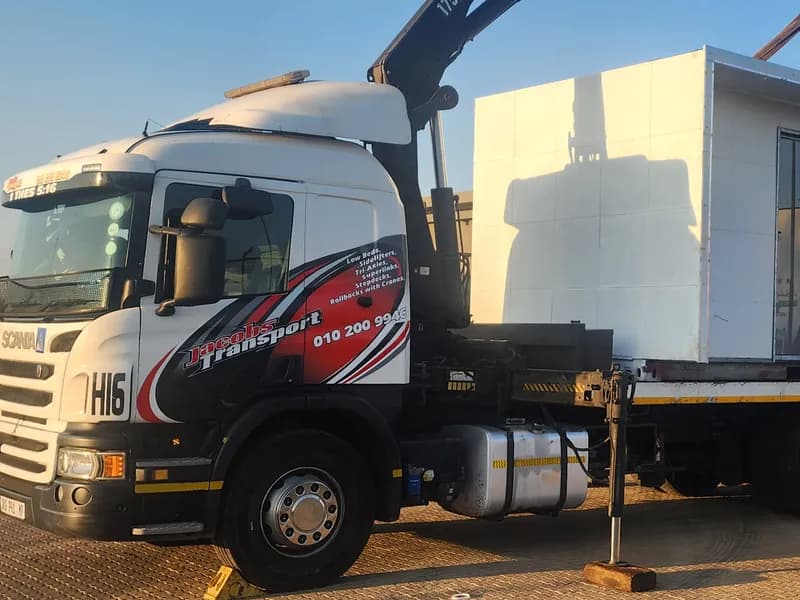
Craning in on delivery day 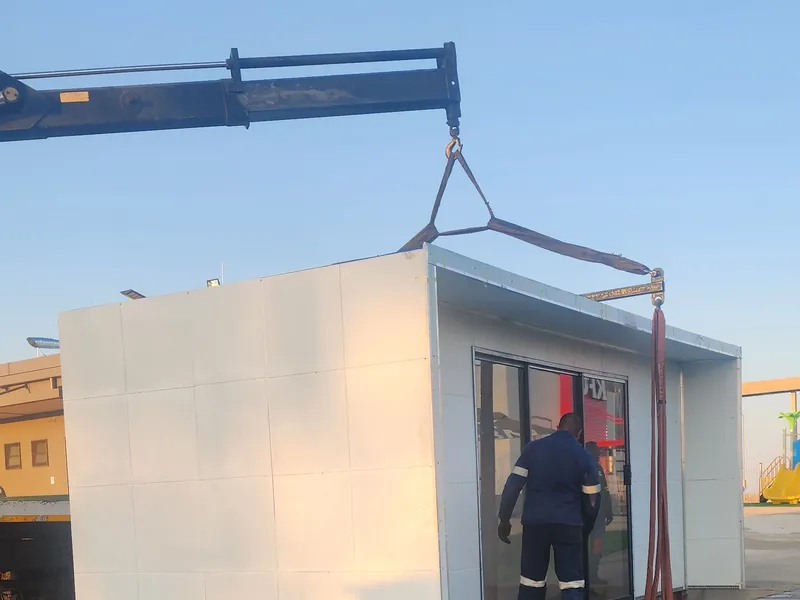
Set down and levelled on site 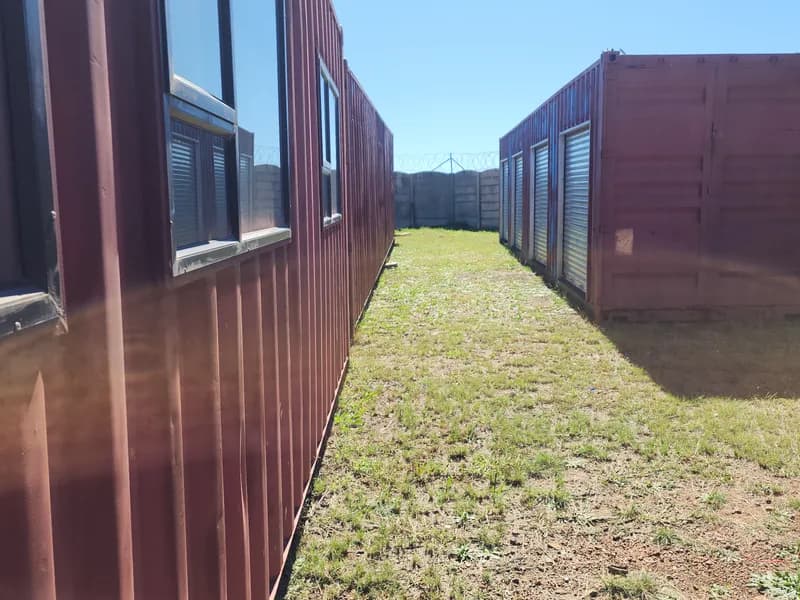
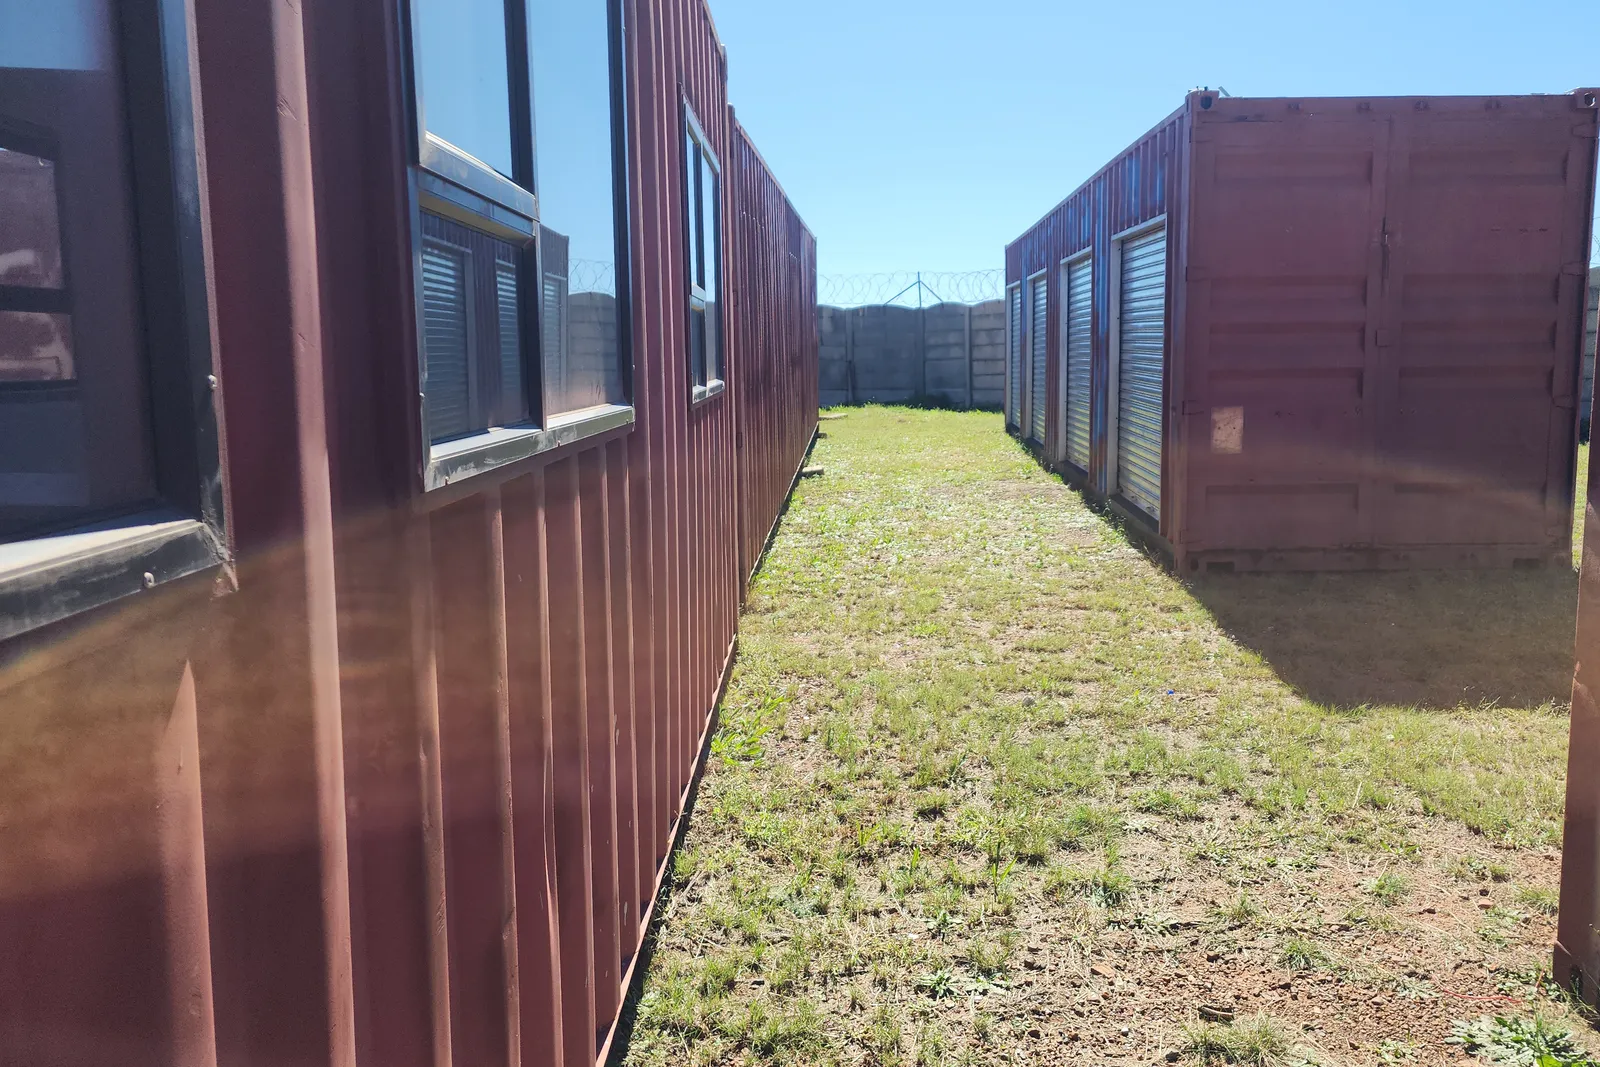
Two conversions with a walkway between 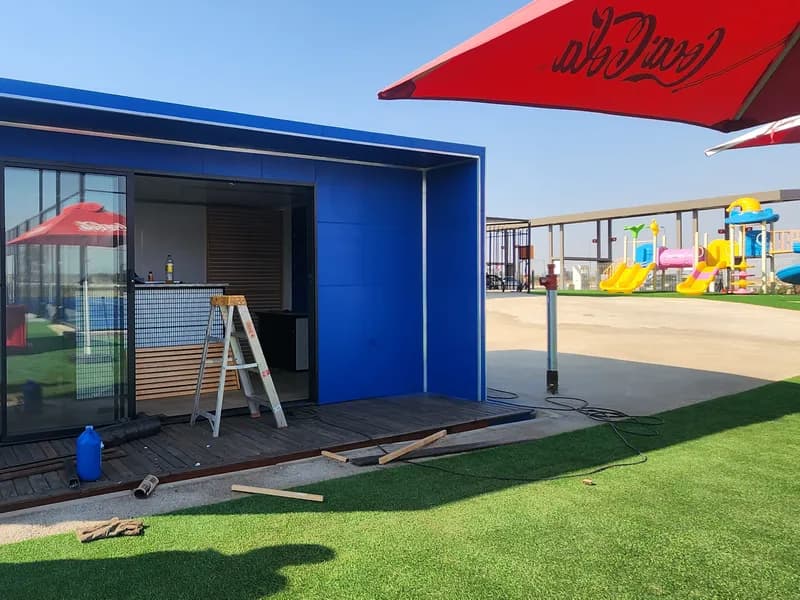
A container shopfront in use 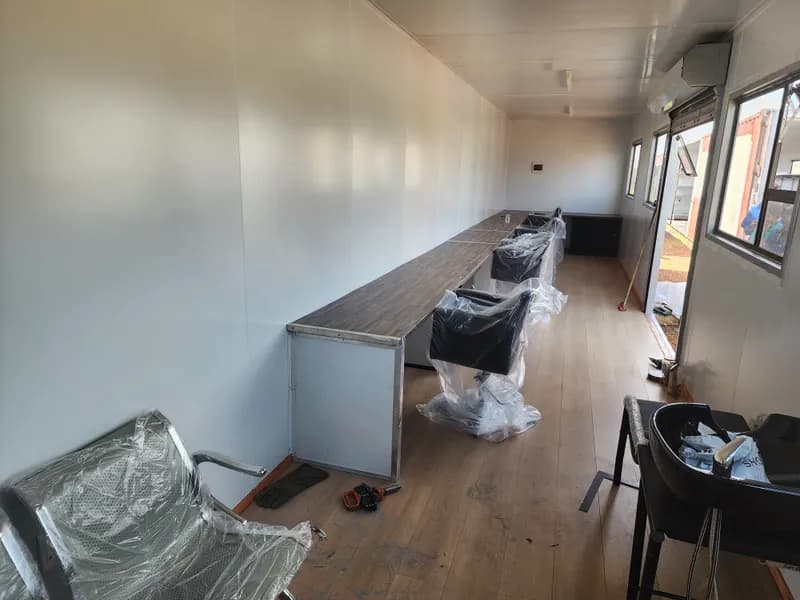
Desks and chairs delivered to a finished office
Want this on your site?
Tell us about the job and we will quote it.
 The Well Digger
Sanitation and construction services you can hold to a date